
Not sure what’s inside all those reservoirs under your hood? This practical guide shows you which car fluids matter, how to inspect them safely, and when a low level means it’s time to call a mechanic.
It’s Saturday morning. Your bags are packed for a road trip, your route is saved, and you’re ready to leave. Then a thought hits: When did I last check my engine oil—or any of the other fluids?
You open the hood and see caps, hoses, and plastic tanks. They all look important, but which ones should you actually inspect?
Good news: learning how to check car fluids doesn’t require becoming a mechanic. Several essential checks are simple once you know what to look for. Others, particularly sealed transmission systems, are best left to professionals. Let’s go through them in an order that makes sense.
What Fluids Should You Check in Your Car?
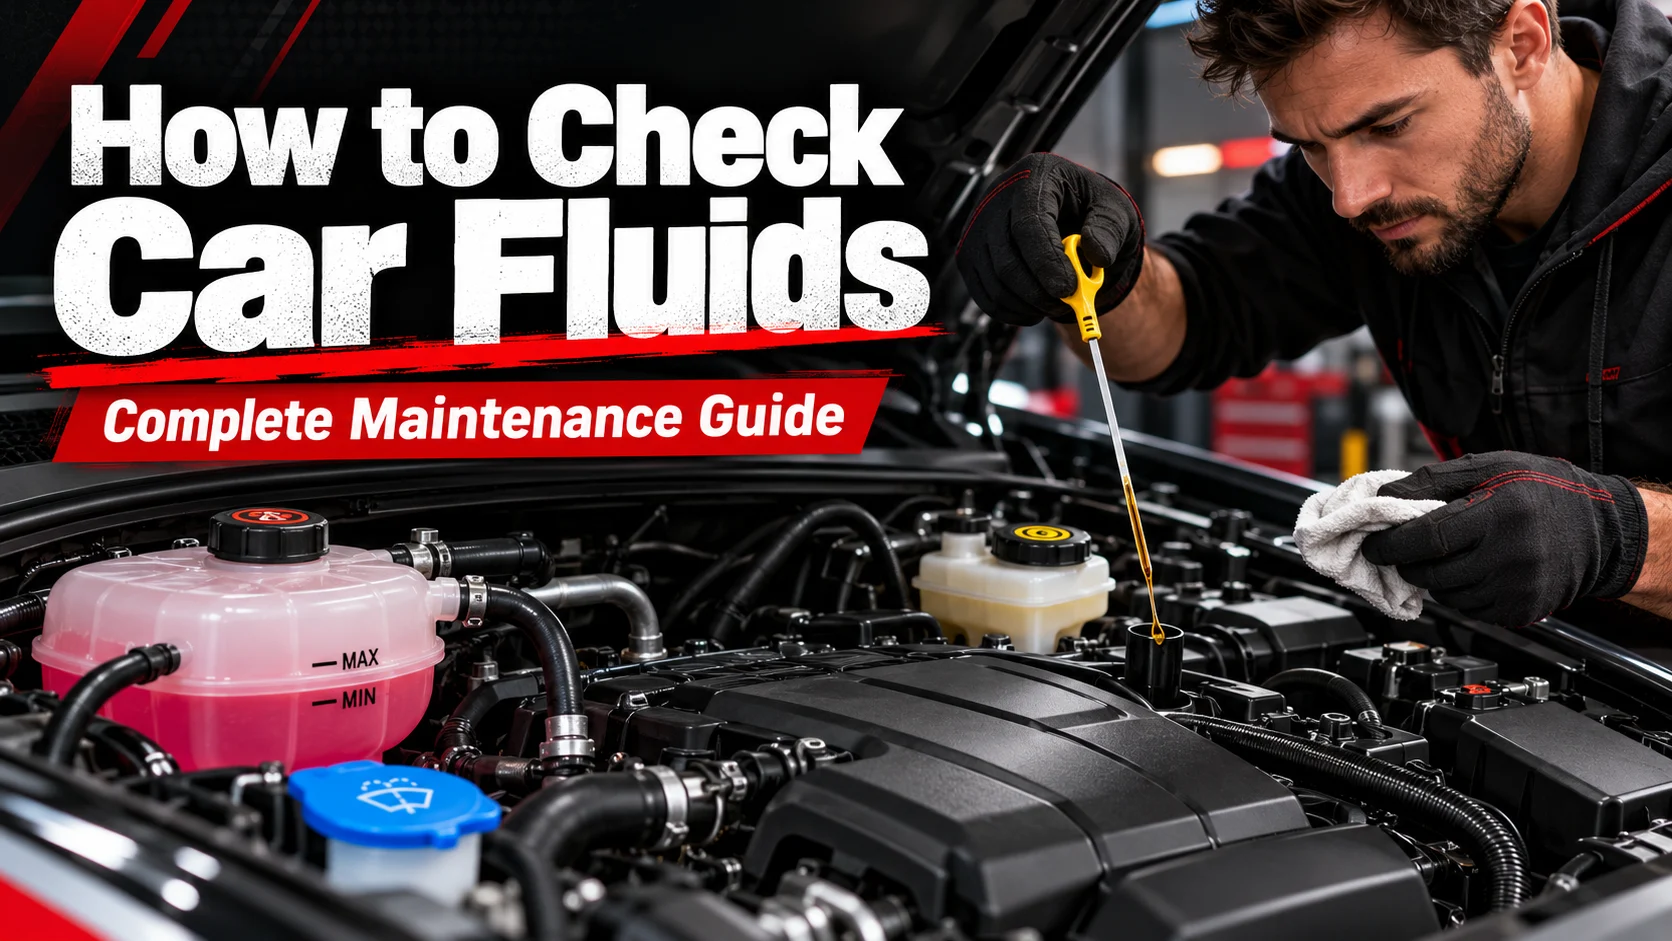
Think of a car as several systems working together. Oil protects moving engine parts, coolant manages heat, brake fluid helps the brakes work, and washer fluid keeps your view clear. They’re not interchangeable, and not every car uses every type listed below.
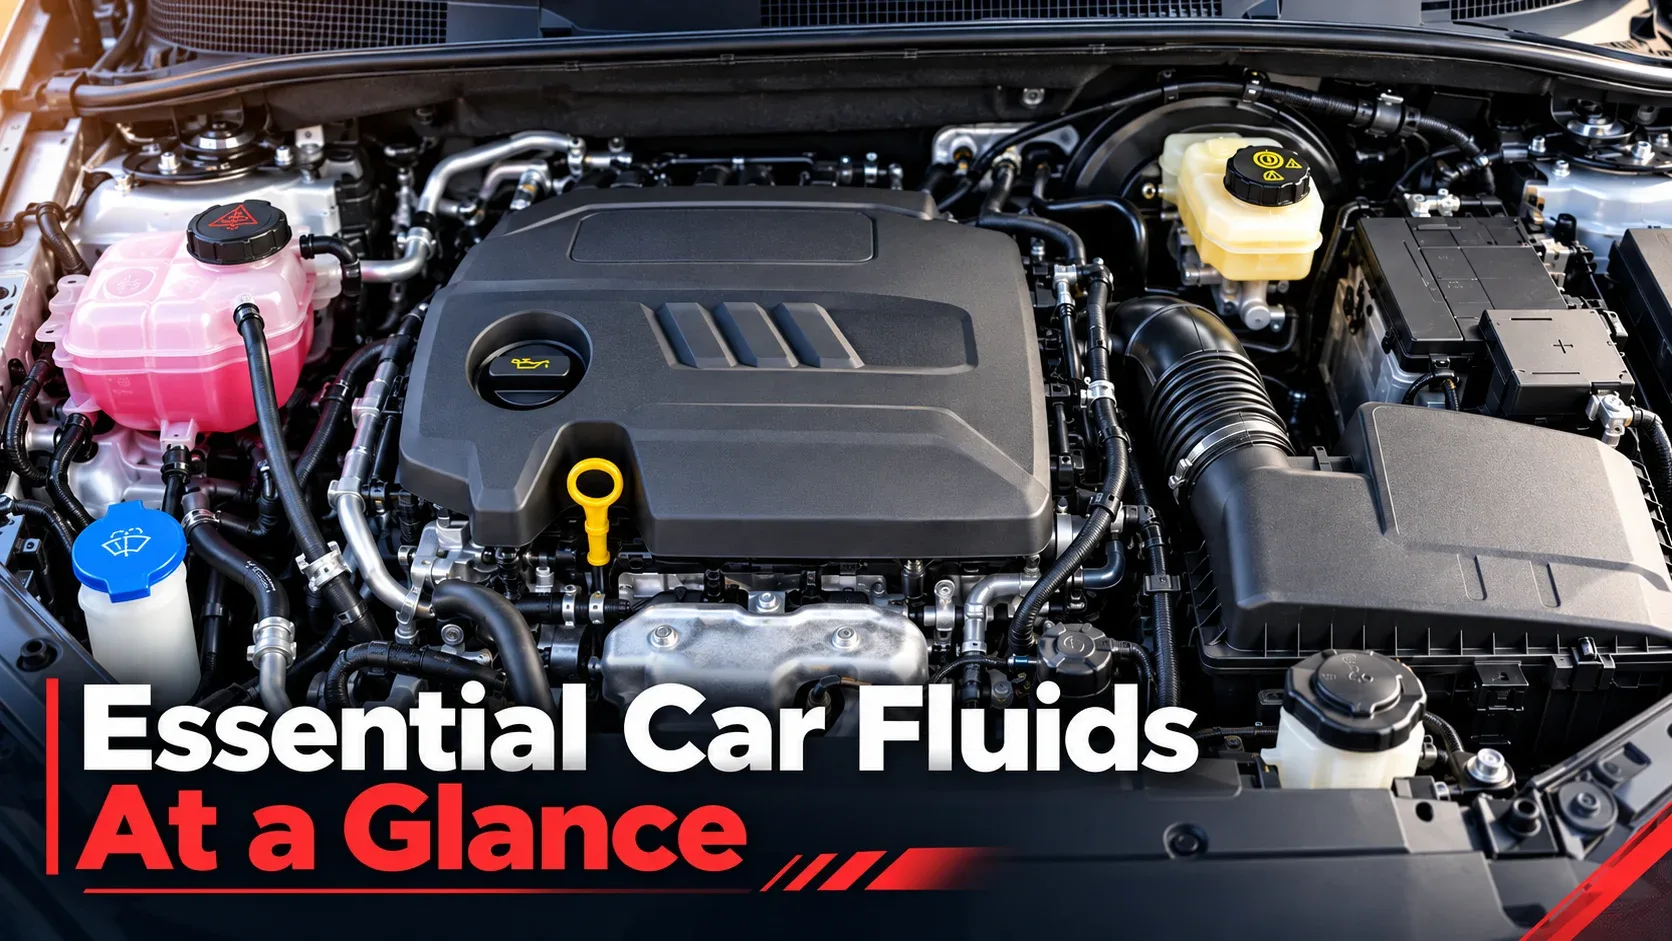
| Fluid | What it does | Where / how to check |
|---|---|---|
| Engine oil | Lubricates and helps protect engine components | Oil dipstick or electronic oil-level display |
| Engine coolant | Controls engine temperature and protects the cooling system | Coolant expansion/recovery tank when cold |
| Brake fluid | Transfers pedal force through the hydraulic braking system | Translucent master-cylinder reservoir |
| Transmission fluid | Supports transmission operation, lubrication and cooling | Model-specific dipstick, electronic procedure, or shop check |
| Power steering fluid | Supports hydraulic power steering | Hydraulic reservoir, if the vehicle has one |
| Windshield washer fluid | Removes dirt and road grime from the windshield | Washer reservoir, usually marked with a windshield symbol |
| Differential / transfer-case oil | Lubricates drivetrain gears on applicable vehicles | Generally checked during professional service |
Before You Start: Tools and Safety Precautions
Before Alex reaches for the dipstick, he takes a minute to prepare. A careful inspection is more useful—and safer—than a rushed one.
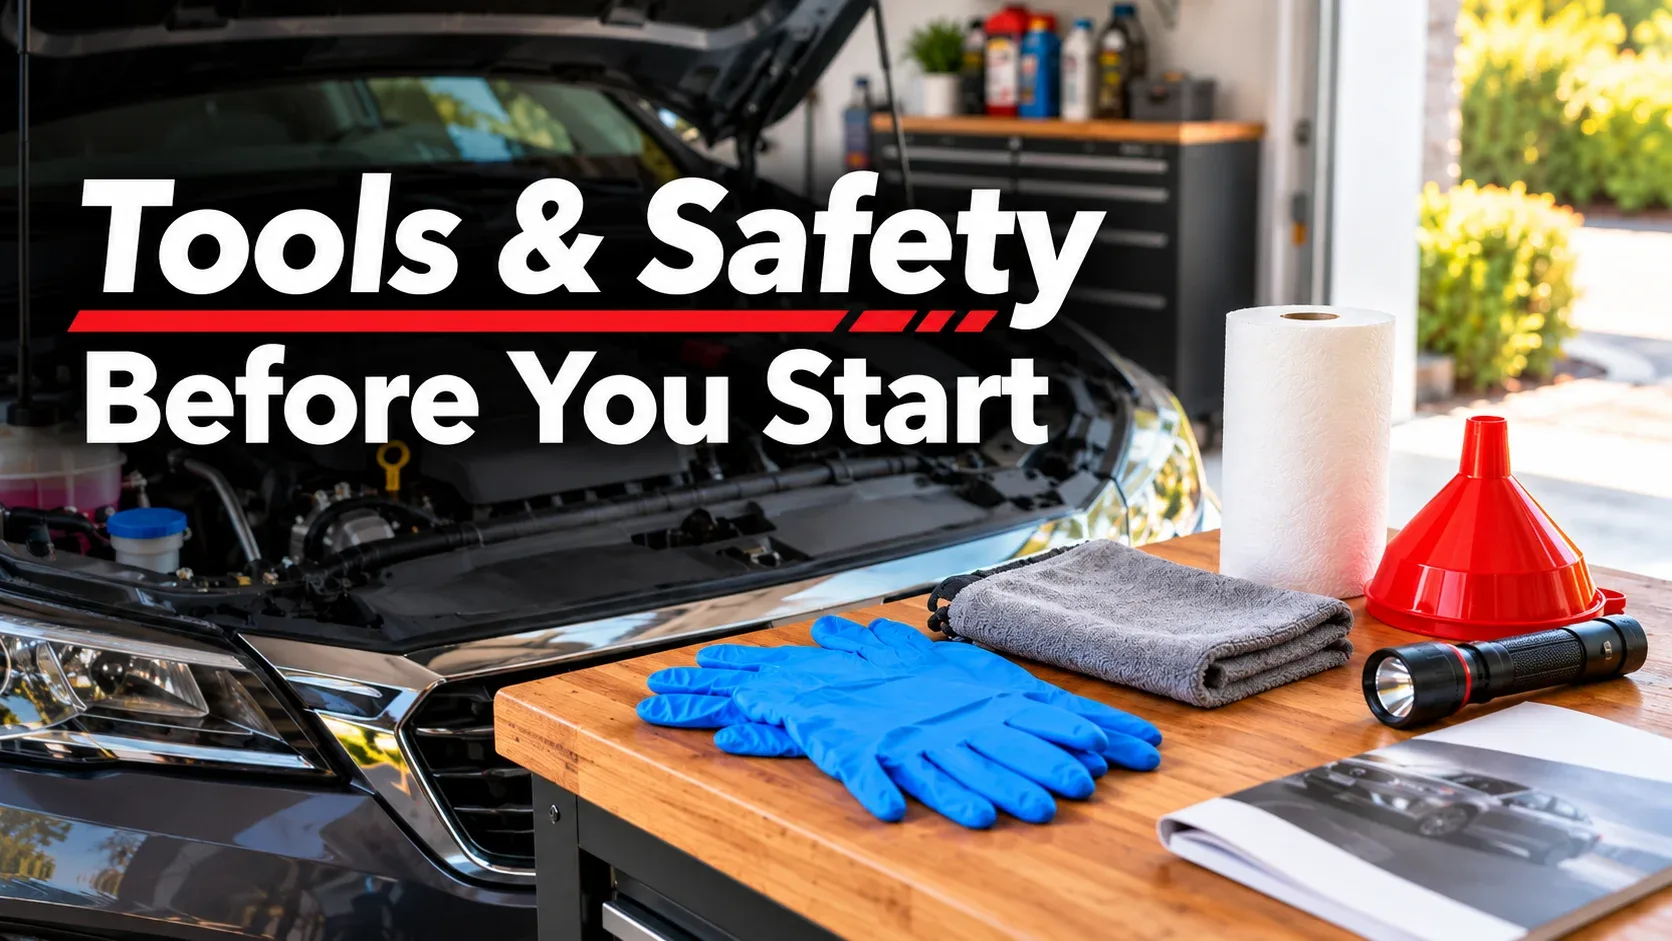
Owner’s manual, clean lint-free cloth or paper towels, flashlight, protective gloves and a stable, level parking spot.
Apply the parking brake, select Park (or the appropriate gear), and follow the manufacturer’s engine-temperature instructions.
- Identify each cap or dipstick before removing it.
- Clean around openings to avoid introducing grit.
- Keep loose clothing, jewelry and hair away from belts and fans; electric fans may start unexpectedly.
- Use the exact fluid specification listed in the owner’s manual.
- Do not crawl beneath a car supported only by a jack.
How to Check Engine Oil Step by Step
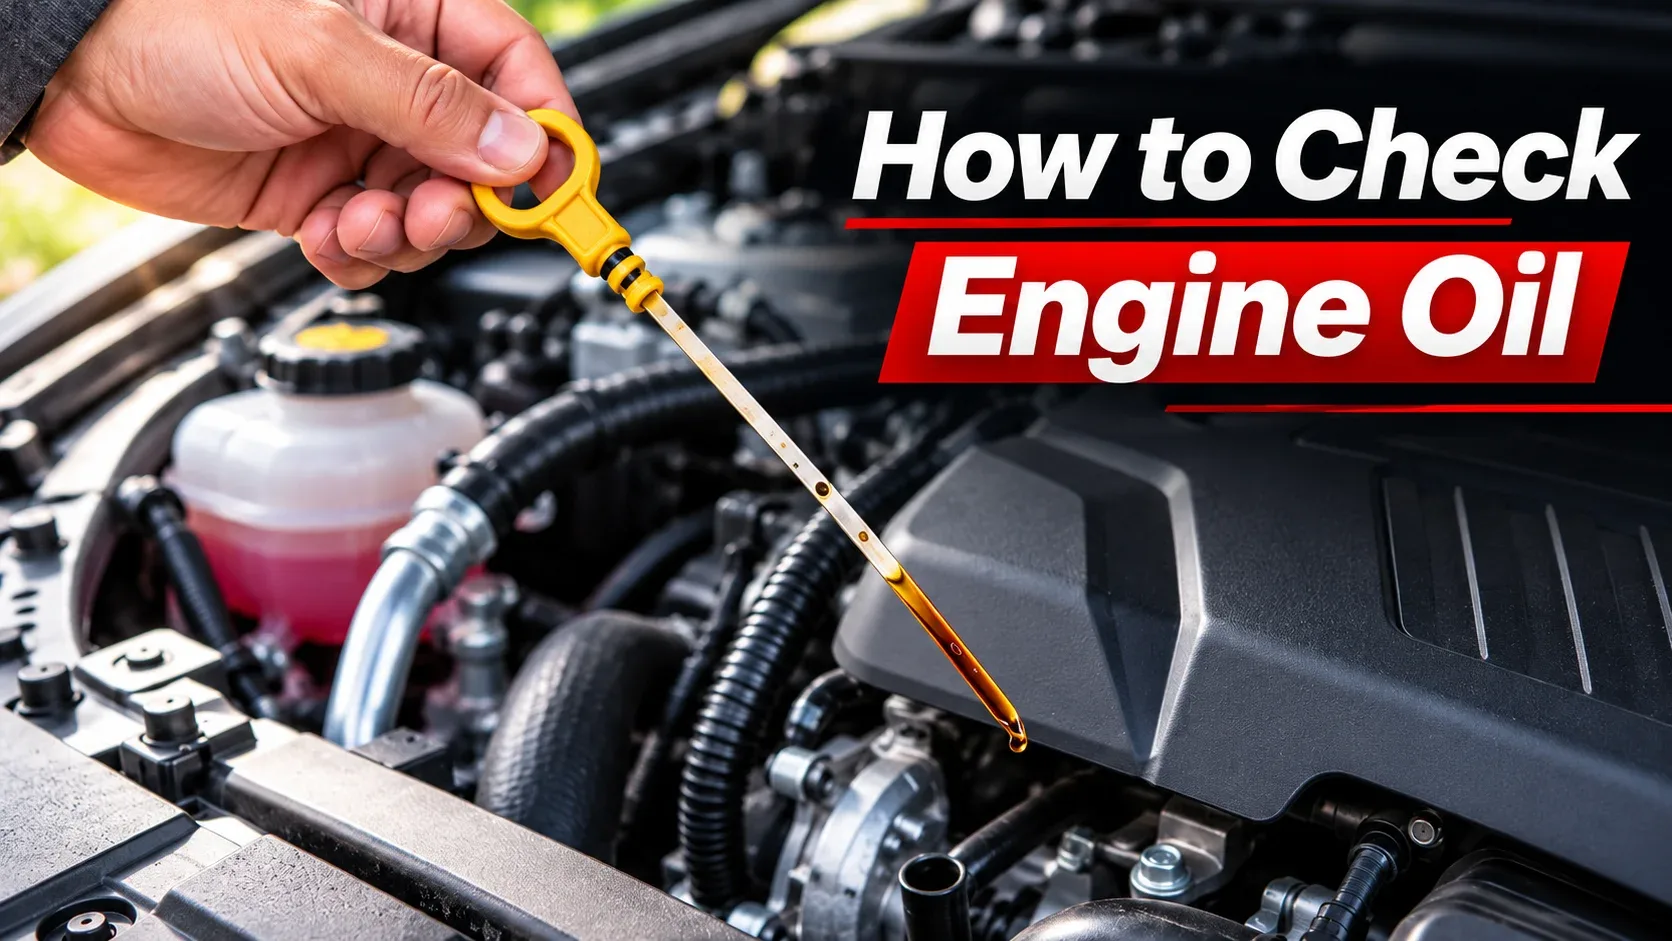
Engine oil is a smart first stop. A dangerously low oil level can cause serious engine damage. The tricky part isn’t finding a yellow or orange handle—it’s making sure you’re checking it under the conditions your manufacturer specifies.
- Check the manual.
Some engines are measured cold; others require warming the engine, switching it off and waiting a specified time. Follow the procedure for your model.
- Park level and locate the dipstick.
With the engine off and safe to work around, find the engine-oil dipstick. Cars with electronic measurement may have no physical dipstick.
- Wipe the dipstick.
Remove it and clean the measuring end with a lint-free cloth.
- Reinsert and read.
Push it fully back into its tube, remove again, and find the fluid line between MIN and MAX or the equivalent markings.
- Respond to a low reading carefully.
If low, add the manufacturer’s specified oil gradually, allow it to settle, and recheck. Never fill above the specified maximum.
What if the oil looks dark? Color alone doesn’t prove the oil needs changing. Base the decision on the service schedule, oil-life monitor (if equipped), contamination signs and any professional diagnosis.
How to Check Your Engine Coolant Level
On your next stop under the hood, look for a translucent plastic tank connected to the cooling system. That’s often where you can inspect coolant without removing a cap.
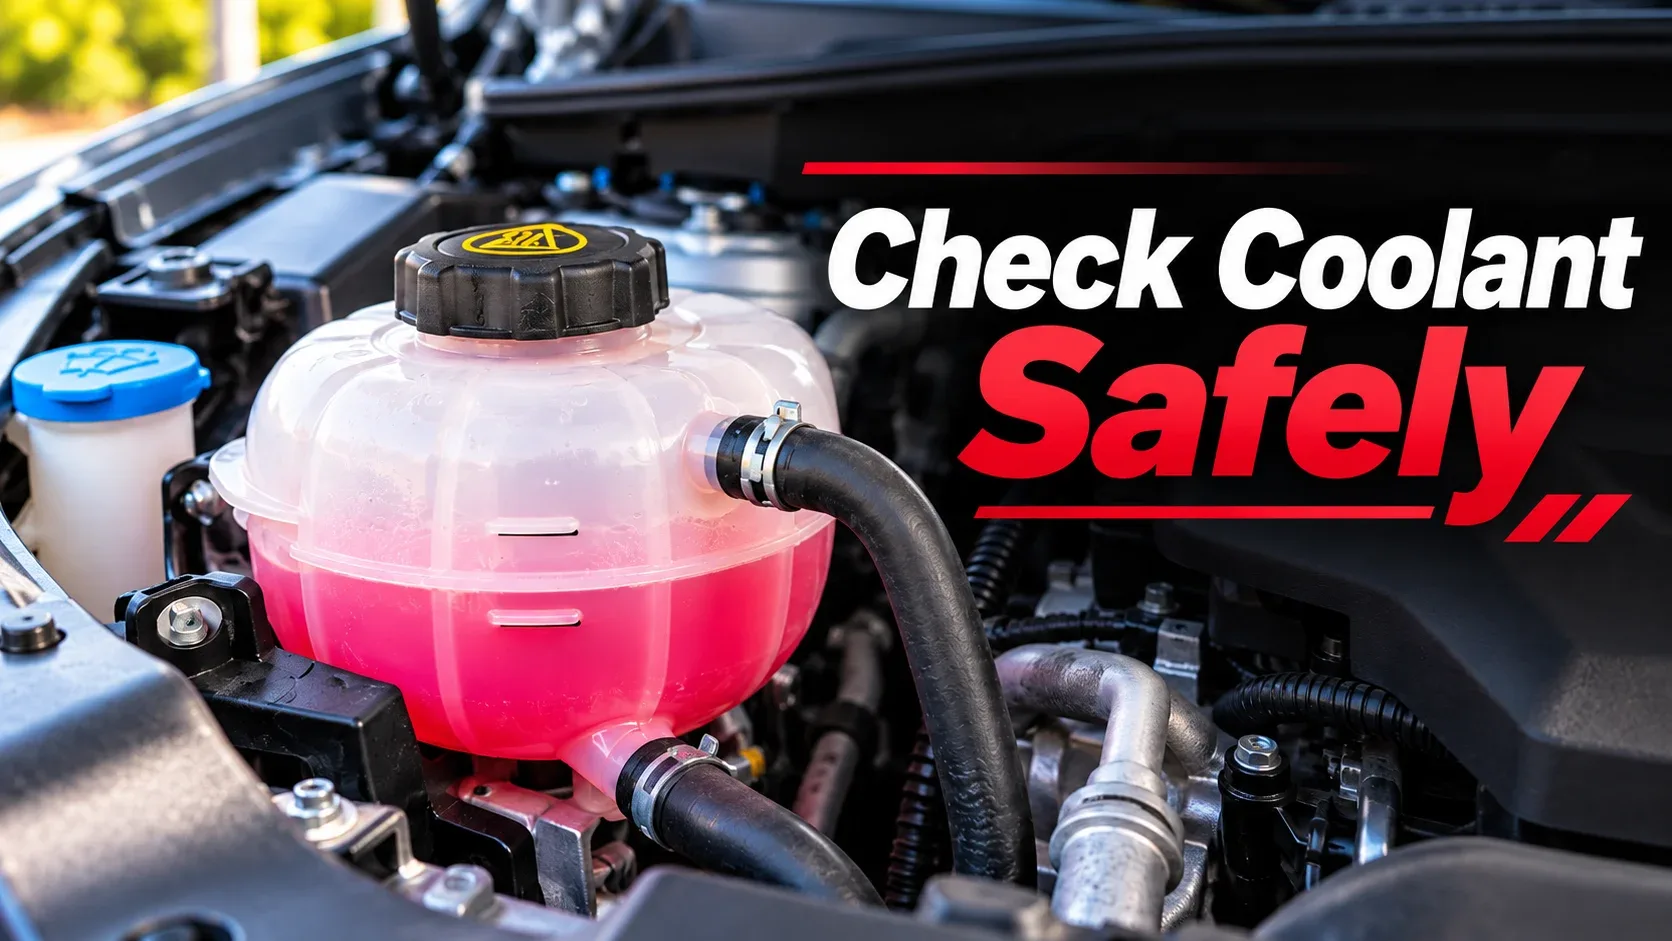
- Let the engine cool fully.
Wait until the cooling system is completely cool before inspecting or servicing it.
- Find the correct coolant reservoir.
Look for a labeled expansion or recovery tank and confirm it in the owner’s manual.
- Read the markings.
Inspect the coolant level through the side of the container. Use the appropriate COLD/MIN/MAX indicators for your vehicle.
- Address low coolant appropriately.
If the manual permits topping up, use the specified coolant type and mixing ratio. Repeated losses or a visibly empty reservoir need investigation.
Alex’s coolant sits between the cold-level marks, so he moves on. If it had been repeatedly low, he would look for evidence of a leak and arrange a cooling-system inspection.
How to Check Brake Fluid Without Guesswork
Brake fluid deserves special care because braking is a safety-critical system. The reservoir is usually mounted near the rear of the engine compartment on the master cylinder, though layouts vary.
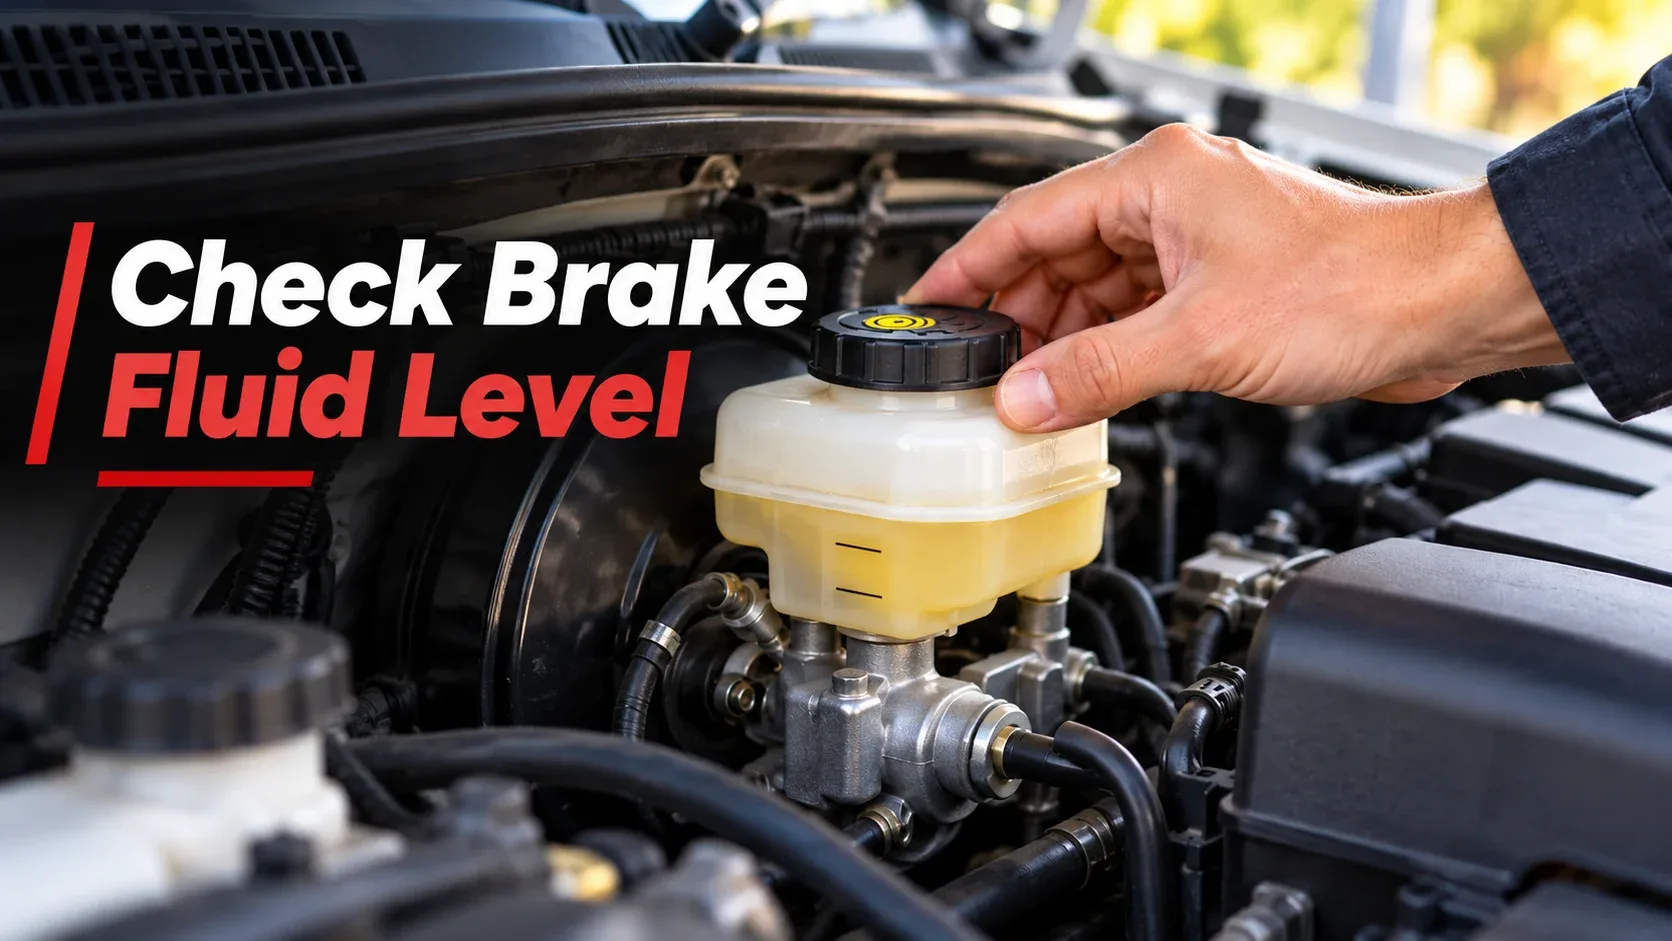
- Locate the reservoir.
Use the owner’s manual to identify the brake master-cylinder reservoir, not a similarly shaped coolant or clutch reservoir.
- Inspect from outside.
On a level surface, observe the fluid relative to MIN and MAX marks without removing the cap.
- Look for symptoms.
A warning light, unusual pedal feel or noticeably low fluid can point to wear or a hydraulic-system fault.
- Arrange diagnosis when needed.
Do not simply refill a repeatedly low reservoir or attempt to hide a potential brake leak.
How to Check Transmission Fluid (and When Not To)
Here’s where Alex learns a useful lesson: not every fluid has a simple under-hood dipstick. Some automatic transmissions require precise fluid temperature, a specific gear-selection procedure, a running engine, and a level plug. Others are sealed or use an electronic service procedure.
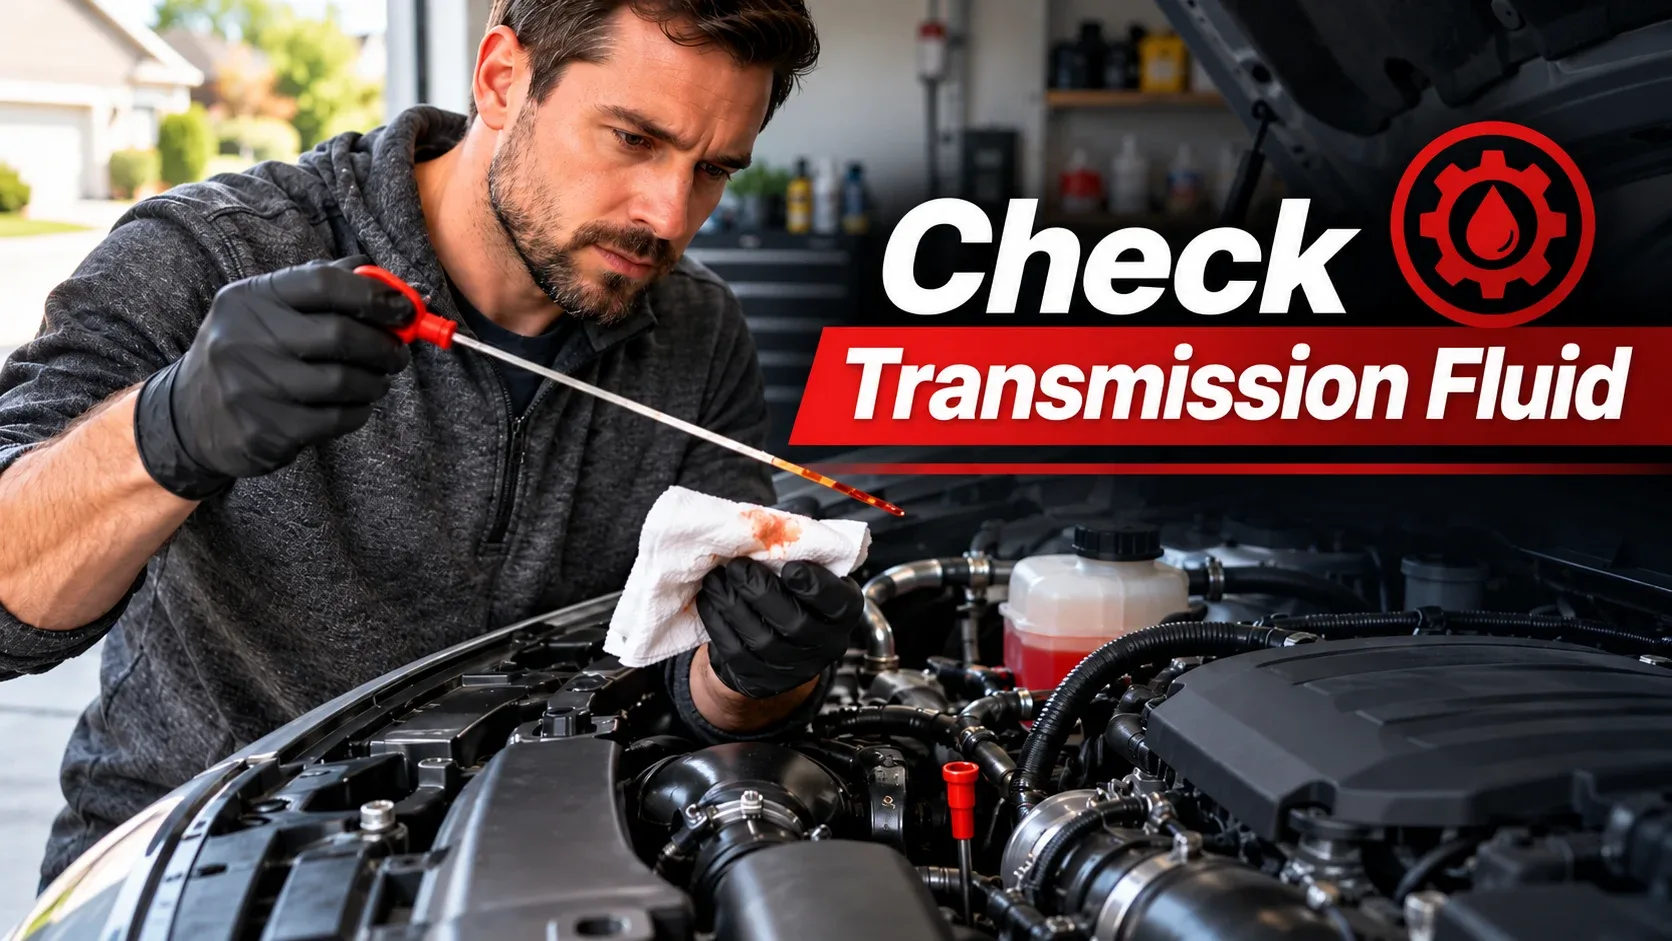
If your transmission has a dipstick
- Find the exact procedure.
Confirm engine state, operating temperature, parking position and whether cycling through gears is required. These details differ across transmissions.
- Secure the vehicle.
Use the parking brake and follow all manufacturer safety instructions. If the procedure requires an idling engine, keep well clear of moving parts.
- Read the correct range.
Clean and reinsert the dipstick as instructed, then compare the result with the proper HOT/COLD or temperature-specific range.
- Use only approved fluid.
Transmission fluid formulations are not interchangeable. If the level is abnormal or you’re unsure of the steps, seek professional service.
Hard shifting, slipping, unusual noises, burning smells or leaking fluid warrant further inspection. Do not rely on fluid color alone to diagnose transmission health.
How to Check Power Steering Fluid
First, find out what steering system your car uses. Many newer vehicles have electric power steering and no hydraulic power steering reservoir at all.
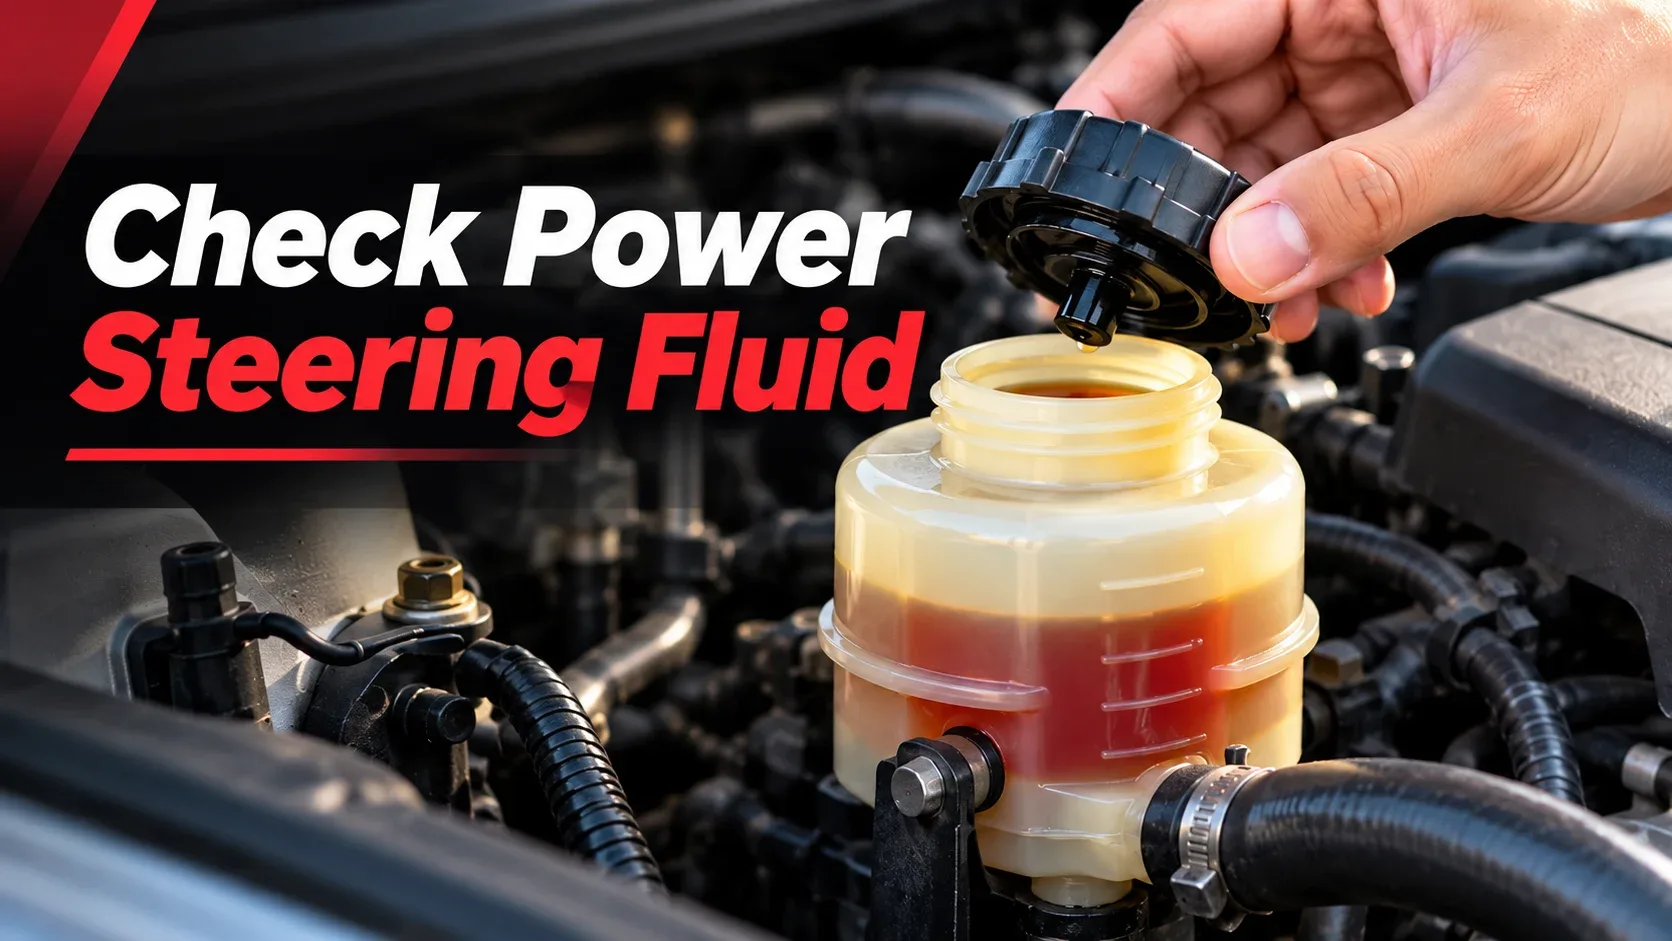
- Confirm hydraulic steering.
Check your vehicle’s manual for a fluid reservoir and inspection instructions.
- Locate the reservoir.
Look for a labeled cap or a reservoir dipstick, if equipped.
- Read the specified markings.
Some reservoirs have different hot and cold ranges. Use the correct one for the stated temperature.
- Investigate repeated drops.
A low level accompanied by whining, steering difficulty or wet hoses may indicate a hydraulic leak.
Never use automatic transmission fluid as a substitute unless the vehicle manufacturer explicitly specifies it.
How to Check and Refill Windshield Washer Fluid
Want a satisfying first maintenance win? The washer-fluid check is often the easiest. It’s also important for visibility when road dirt, salt, insects or spray obscure your view.
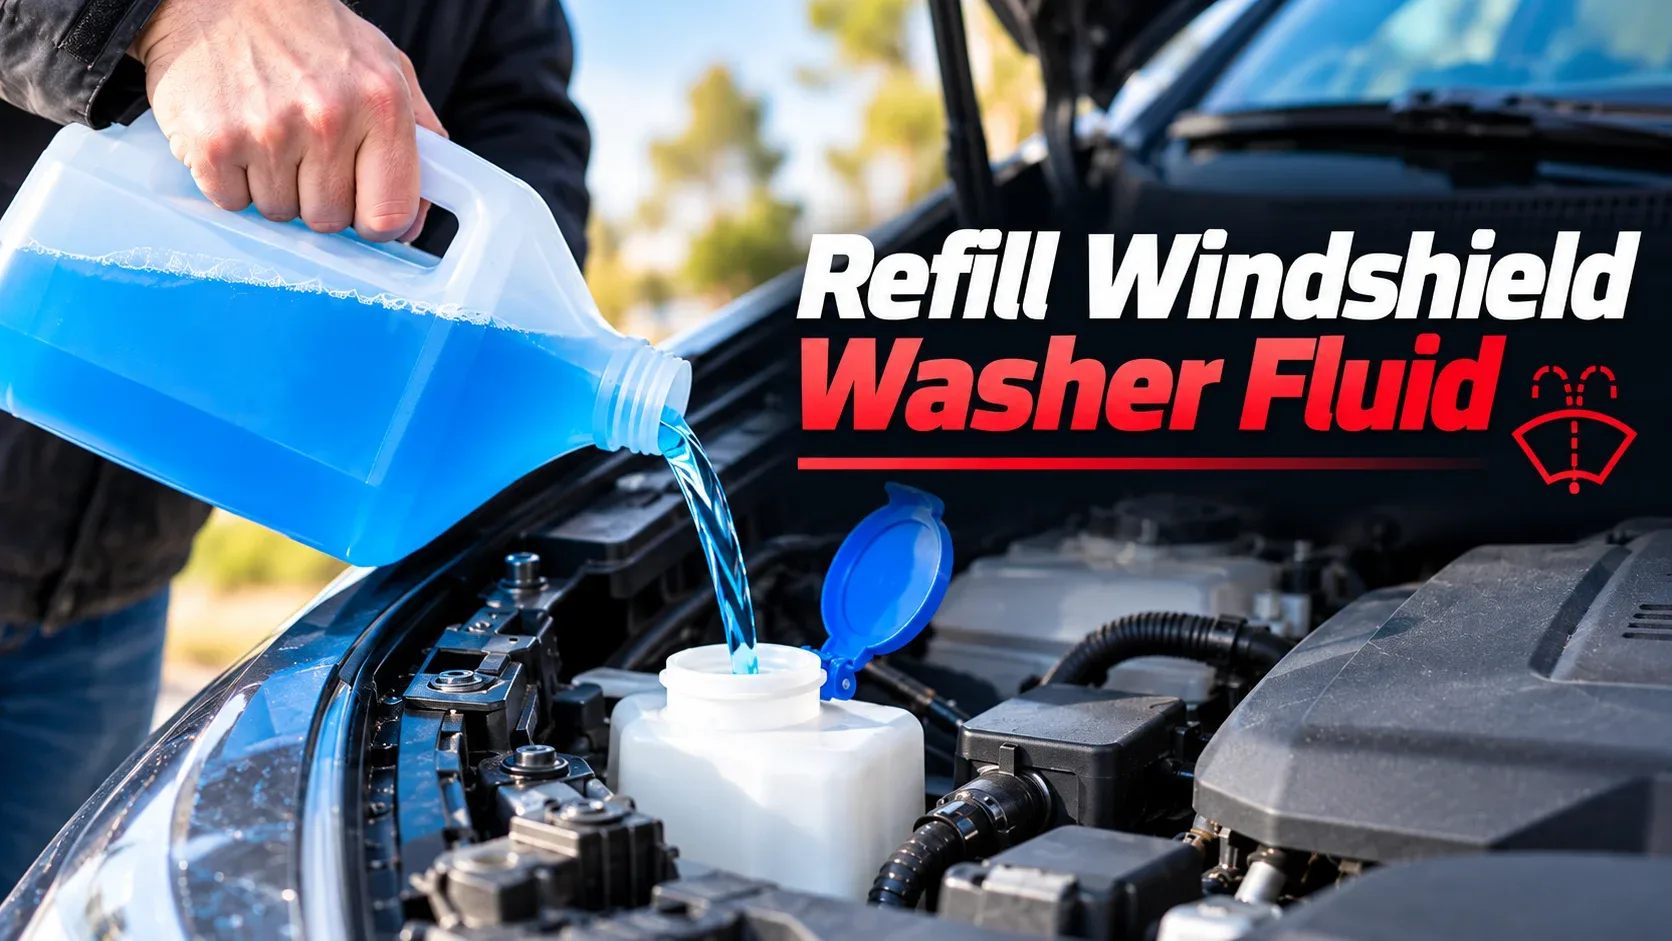
- Identify the washer reservoir.
Look for the windshield-and-spray symbol, and verify the cap before opening.
- Check the level.
Use the container’s visibility or the level-check method in the manual. Some reservoirs are tucked out of sight.
- Refill with suitable product.
Use a washer fluid appropriate for the season and local temperatures. Avoid spilling onto nearby components.
- Test the sprayers.
Close the cap and operate the washers briefly to confirm that the nozzles work.
How Often Should You Check Car Fluids?
There isn’t one universal schedule for every car. A practical habit is to do a quick visual check periodically and before longer drives, then follow the vehicle manufacturer’s inspection and replacement intervals.
| Fluid | Practical check trigger | What determines service timing? |
|---|---|---|
| Engine oil | Periodically and before road trips, following vehicle guidance | Manufacturer schedule and oil-life system |
| Coolant | Periodic cold-engine visual check; after relevant warnings | Vehicle cooling-system maintenance schedule |
| Brake fluid | During routine inspections or after a brake warning | Manufacturer replacement interval and testing |
| Transmission fluid | Only when the manual provides an owner-check procedure | Transmission-specific service requirements |
| Power steering fluid | If equipped, according to the manual or after symptoms | Hydraulic-system service guidance |
| Windshield washer fluid | Whenever spray weakens or before longer trips | Usage and weather conditions |
A monthly quick-look routine can help some owners remember basic maintenance, but the manufacturer’s instructions always take priority. Fluid replacement isn’t necessarily needed every time you inspect a level.
Signs Your Car Fluids Need Attention
Sometimes the most useful clue isn’t under the hood. It may be a spot on the driveway, a dashboard alert, or an unfamiliar smell.
Record where they appear, but don’t assume identity from color alone. Have leaks identified and repaired.
A repeated need to refill oil, coolant or hydraulic fluid deserves diagnosis, not just another top-up.
Unusual appearance can warrant inspection. Normal fluid colors also vary, so appearances are not a complete test.
Oil pressure, overheating, braking or transmission symptoms can be urgent even when a quick visual check looks normal.
7 Common Car Fluid Checking Mistakes
Cold versus warm readings can differ. Follow the owner’s manual for each system.
Pressurized fluid can cause burns. Wait until the cooling system is completely cool.
A similar color or name doesn’t guarantee compatibility. Check specifications.
Too much engine oil or another fluid can cause problems. Respect the measured range.
Recurring low levels may signal a leak, wear or another underlying fault.
Improper procedures can damage a transmission. Leave special checks to a qualified shop.
It can signal component wear or a leak. A braking problem must be assessed promptly.
Car Fluid Inspection Checklist
Alex has finished the under-hood walkthrough. Before he leaves, he runs through one last list. Save or print this for your next trip; check only those systems and procedures applicable to your vehicle.
Frequently Asked Questions
How do I check all the fluids in my car?
Start by identifying the serviceable reservoirs and dipsticks in your owner’s manual. Inspect the engine oil, coolant, brake fluid, washer fluid and, when equipped, hydraulic power steering fluid. Transmission-fluid checks are model-specific and can require professional equipment. Always use the temperature and engine-state instructions for each system.
What are the most important car fluids to check?
Engine oil, coolant and brake fluid are especially important to engine protection, temperature control and braking safety. Transmission fluid and steering fluid matter where equipped, while washer fluid supports visibility.
Should my engine be hot or cold when checking fluids?
It depends on the fluid and vehicle. Coolant should be inspected when the system is completely cool. Engine oil and transmission fluid may require cold, warm, off or idling conditions as specified in the owner’s manual. Never assume one method applies to all fluids.
Can I check car fluids without a mechanic?
Many visual level checks are suitable for careful owners. Sealed transmission checks, certain drivetrain-fluid inspections, leaks and braking faults may require professional service.
How often should I check fluid levels?
Follow your vehicle’s specified schedule. A periodic visual check and a pre-trip inspection can be useful habits, especially when a vehicle is older or has a history of leaks.
What happens if my car has low coolant?
Low coolant can reduce the cooling system’s ability to manage engine temperature, potentially contributing to overheating. If the car overheats, stop safely and shut off the engine. Investigate the cause of repeated coolant loss.
How do I know if my brake fluid is low?
On many cars, compare the visible reservoir level with its MIN and MAX markings. A brake warning light or altered brake feel calls for prompt inspection, even if the level looks acceptable.
Can I drive with low engine oil?
Driving with insufficient oil risks engine damage. If an oil-pressure warning appears, stop safely and switch off the engine. A low dipstick reading should be addressed using the manufacturer’s instructions before further driving.
How do I check transmission fluid without a dipstick?
Some vehicles use a service plug and a strictly controlled fluid-temperature procedure; others have electronic checks. Consult the manual. If there’s no approved owner-check process, ask a qualified service shop.
Do electric cars have fluids to check?
Yes. Many EVs use brake fluid, windshield washer fluid and one or more thermal-management fluids, depending on the vehicle. They typically do not need conventional engine oil. Follow the EV manufacturer’s service instructions and never open high-voltage cooling components yourself.
Final Thoughts: Turn a Quick Check Into a Smart Habit
Back in the driveway, Alex now knows where to look—and, just as important, when not to touch something. That is what good DIY maintenance looks like: a few thoughtful checks, the right fluids, and the confidence to call a professional when something isn’t right.
Your next move: Find the fluid-inspection pages in your owner’s manual and keep this checklist handy before your next long drive.
This general educational guide is not a substitute for a model-specific owner’s or service manual. Procedures and specifications vary by make, model, year and powertrain.
- AAA Club Alliance — Quick Tips for Checking Vehicle Fluids
- AAA Automotive — Car Fluids: How to Check and Maintain Them
- Your vehicle manufacturer’s official owner’s manual and maintenance schedule (the controlling reference for procedures).