
A trailer serves well throughout their lives and when they aren’t in use, they need to be maintained regardless. Their tires, breaks, lights, suspension, and the rest of their parts need to be in proper working condition for any given use. There may be minor issues that accumulate throughout a trailer’s usage that can have larger effects.
Learning all there is to know about checking the main parts of a trailer can ensure its safety and keep the owner safe. First things to learn about trailer parts are going to be the information provided by the trailer owners themselves and the parts and accessories information pages available on Loewen 1776 Trailers & Truck Bodies, as well as what function each part provides. Noting the various parts and accessories will ensure that the owner knows exactly how to check them as well as what might need to be replaced or serviced in due time.
1. Start With the Tires and Wheels
Trailer tires are what support the trailer, cargo, and their weight from the road. Due to trailers often being unused for months at a time, even a trailer with new tires needs maintenance because the road it sits on can damage them regardless.
Prior to using a trailer, the following should be checked:
- Tire Pressure
- Tire Tread Depth, Wear, and Damage
- Sidewalls
- Wheels
- Age of tires
Tires should always be cold checked, meaning they’re not hot from the road. As per each owner’s manual, tires need to be inflated to the manufacturer-specified pressures and should carry weight appropriate for that trailer.
Why Pressure Matters: Low pressure can lead to overheating which can lead to sudden blowouts. Tires that are over-inflated can damage them, affect their ability to handle rough patches, sharp turns, and lead to a loss of control. Checking tire pressure is important, but it’s also vital to note any and all punctures, embedded gravel or rocks, loose or missing lug nuts, or any other condition that could require service.
If a trailer owner notices a slow loss in pressure, they should find the cause before using the trailer and not just inflate the tires. In the meantime, never attempt to pull a trailer until its suspension and tires are in working order.
2. Inspect the Trailer Hitch and Coupler
A trailer hitch is what attaches a trailer to a towing vehicle, so checking that this connection is secure for any trip should come first. Before setting off, always make sure the size and weight rating of the trailer coupler and ball matches. Lower the tongue to the coupler ball then lock the hitch handle in place to ensure that the hitch cannot move upwards to detach.
Along with checking size and fit, check the following:
- Trailer Hitch Safety Chains: Check chains for severe rust, cracks, or bends.
- Hitch Pin or Clip: Ensure that the pin or clip is in place and not bent or worn down.
- Trailer Jack: Ensure that the trailer jack lifts smoothly and doesn’t have any obvious damage.
- Coupler: Look for damage, bends, and unusual give or movement of the coupler.
When applicable, cross safety chains under the trailer coupler for the hitch ball. Always make enough clearance for turns without dragging the chains against the road.
It is extremely dangerous to have a faulty or ill-fitting hitch or coupler, so a safe practice is to avoid driving with damaged components or hitches with questionable attachment. Replacement parts such as trailer hitches or couplers should be manufactured using the same or similar materials and meet the original specifications outlined by the trailer’s manufacturer when making the replacement.
3. Check the Brakes and Wheel Bearings
Trailer brakes are used to slow and stop trailer movement, and they reduce the load braking exerted on the vehicle pulling the trailer. Depending on the type of trailer being used, the trailer brakes can range from air, electric, or even fluid or surge brakes. It is important to understand the necessary inspection methods and procedures when servicing trailer brakes, such as signs of leakage, abnormal noises, pulling on its own when applying brakes, and heat around a trailer wheel.
It is imperative that trailer owners carry out tests per the manufacturer to ensure that the brakes function properly prior to attaching the trailer. Not all Trailer Brakes Need Service in the Same Way: Electric, hydraulic, air, and surge brakes all have different service procedures and should be serviced based on how they’re operated and used.
Wheel bearings are another necessary point of inspection because a malfunctioning set could lead to out-of-control trailer rotation, which is not only dangerous but may be deadly. Bearings allow trailer wheels to turn effortlessly on the axles, and worn bearings can lead to increased noise, friction, and temperature as well as loss of wheel control or even complete detachment. Regular servicing per the bearing manufacturers’ maintenance schedule regarding inspection, adjustment, and lubrication should be followed, for some trailer bearings require more intensive service and adjustment than others.
Brake service and wheel bearing adjustment should only be performed by technicians who have the correct service equipment, safety precautions, and training. Brakes and wheel bearings are both safety features that when in disrepair could lead to accidents or endanger any passengers involved.
4. Test the Lights and Electrical Connections
Functional trailer lights are necessary for signaling when pulling a trailer, and even more so when the trailer cannot stop or slow rapidly. In low-light conditions and bad weather, functional trailer lights are necessary for anyone attempting to pull a trailer with any sort of safety.
Before heading out, connect the trailer and test all the lights to ensure tail lights, brake lights, left and right indicators, and side marker or reflector lights, all work appropriately. In addition to the physical bulbs of the trailer lights, inspect for looseness, fraying, or corrosion, the electrical plug and wiring harness, the connections between any wiring, cracks or damage to the lenses, and physical integrity of the trailer wiring and connectors.
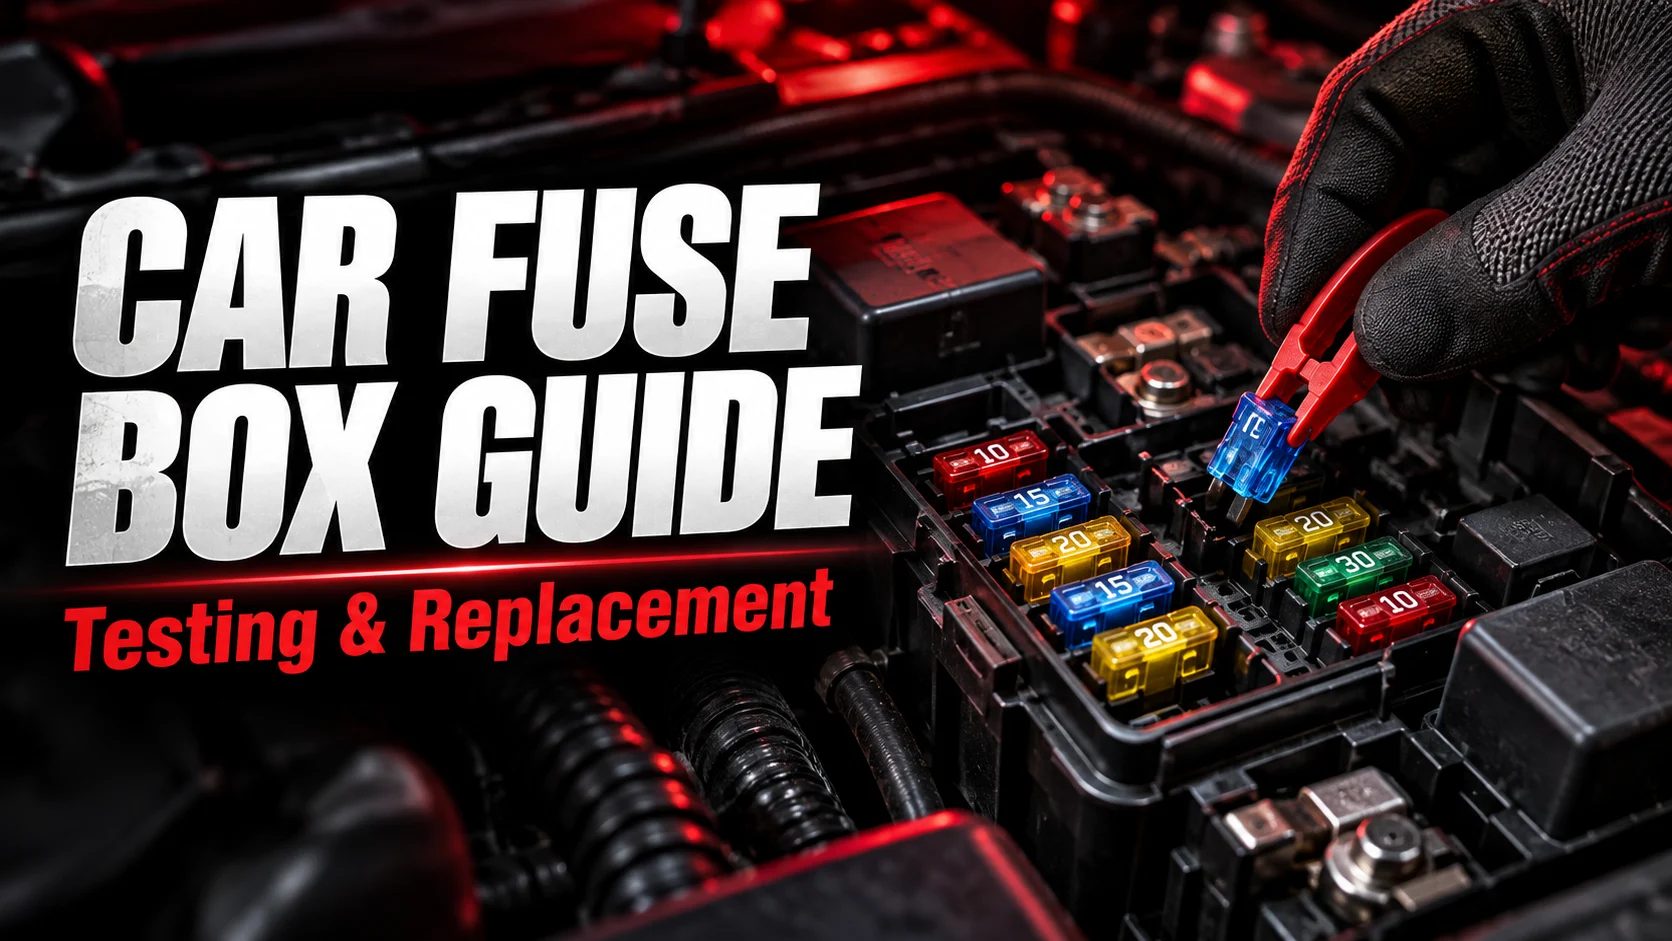
If the owner tests the lights and one or more does not work, it could potentially be due to malfunctioning bulbs or LEDs in that specific light, a blown fuse on the vehicle’s or trailer’s side, and a grounding issue with the wire, so checking the entire circuit is required. When replacing wiring, consider repairing or replacing frayed or corroded wiring. Never attempt temporary wiring solutions that could potentially overheat and endanger the owner.
5. Examine the Frame, Suspension, and Fasteners
The trailer’s frame upholds all the weight and power of the trailer, and distributes between the suspension and axles. Trailer owners can check around the frame for signs such as distortion, cracks, bending, and other issues. Inspection should cover the welds on the frame and other signs of impact damage.
Other suspension and frame concerns to take notice of are breaks in the spring or leaf, hanger or shackle, bushings, bearings, and shocks. If the shocks are fitted, leaks are signs of deterioration. The mounting hardware should be looked over for looseness or damage in accordance to the manufacturer’s guidelines for periodic suspension inspection and maintenance. Do not randomly tighten or adjust suspension or wheel hardware without knowing the right torque to use for the specific trailer being used.
Rust on parts is not always an immediate concern or something that requires service, but severe corrosion, cracks, and deformation do require immediate inspection by a certified professional.
6. Carefully Choose Replacement Parts
When replacement is necessary parts should be chosen based on their function and not just appearance or the lowest cost available, as a part may look identical but have vastly different load capacity, mounting points, electrical needs, and other differences.
Prior to ordering a trailer replacement parts, the owner should have the following information ready: the year, make, and model of the trailer or, in the case that this cannot be obtained, the number or some identifying marking, the vehicle identification or serial number if possible, the part number shown on the faulty or replaced part, the approximate size and mounting dimensions, any weight, load, or capacity rating, and the manufacturers’ specifications for the chosen replacement part.
Original Equipment Manufacturer (OEM) parts are made with the specification for the given make, model, and design of the equipment in question, while after-market parts are not only suited not only for the equipment it is being installed, but for any and all others as well. Both are not without their benefits and drawbacks, but in order to install a new replacement, proper specifications and fitting are of utmost importance.
Never attempt to replace a high capacity part with one with less capacity, and if replacement part specifications are unclear ask the manufacturer for guidance or the appropriate specifications to choose.
7. Select Accessories for Better Load Security or Comfort
Accessories can provide a variety of comfort, load security, or even additional functionality when it comes to trailer usage. However, any accessory should be compatible with the trailer or its load without exceeding the trailer’s capacity or sacrificing comfort, load security, or safety.
Some of the most common accessories are spare tire mounts, toolboxes, and tie-downs, but wheel chocks and protective covers can also be of use depending on circumstances and the equipment being used. Prior to permanently mounting an accessory, the owner should be certain of the weight and mounting capacity the trailer can support, potential load implications, and any changes to the space on the trailer that the equipment might take up or shift. An improperly mounted accessory can be an additional hazard on-road.
An accessories mount or modification to a trailer increases the capacity the trailer can haul provided the modification has received approval from the manufacturer. Always operate under the limitations of the trailer’s capacity rating.
8. Follow a Basic Maintenance Schedule
Scheduled maintenance is more effective than waiting on a malfunction to call for service. Written maintenance records can make it easier to spot what kinds of issues frequently occur and what kinds of service or work can be rescheduled for when it is convenient for the owner.
The following periodic maintenance schedule is a basic outline of suggested practices:
Before Every Trip
- – Check tire pressure, condition, and damage
- – Inspect trailer hitch and safety chains
- – Test all trailer lights and electrical connections
- – Confirm trailer load security
- – Ensure that there are no signs of fluid leaks or physical damage
Periodic Servicing
- – Trailer brakes and wheel bearings
- – Suspension and other components
- – Service any serviceable parts per their maintenance schedules
- – Inspect frame, welds, cracks, and corrosion
After Demanding Conditions or Use
- – Dirt, grime, and other substances should be cleared from any and all components
- – Check for impact damage after rough road conditions
- – Exposed components should be inspected for rust, corrosion, damage, and wear
Maintenance schedules should be followed as recommended by the manufacturer, adjusted for use or conditions. By using the proper maintenance schedule recommended by the manufacturer and adhering to it, owners can ensure longer lifespan for the trailer and its components.
Conclusion
All trailer owners should make it a point to familiarize themselves with the parts necessary for the operation and service of their trailer. They should be able to test, inspect, replace, and service all major components. When it comes to replacing any and all parts, owners should make sure to choose parts that suit the needs of the trailer and its intended purpose. Using a maintenance schedule and keeping written records of service and repairs performed, including when major servicing was performed can prolong the lifespan of a trailer and its components. However, nothing takes precedence over safety, and any owner that notices a safety issue should address it before the next use.