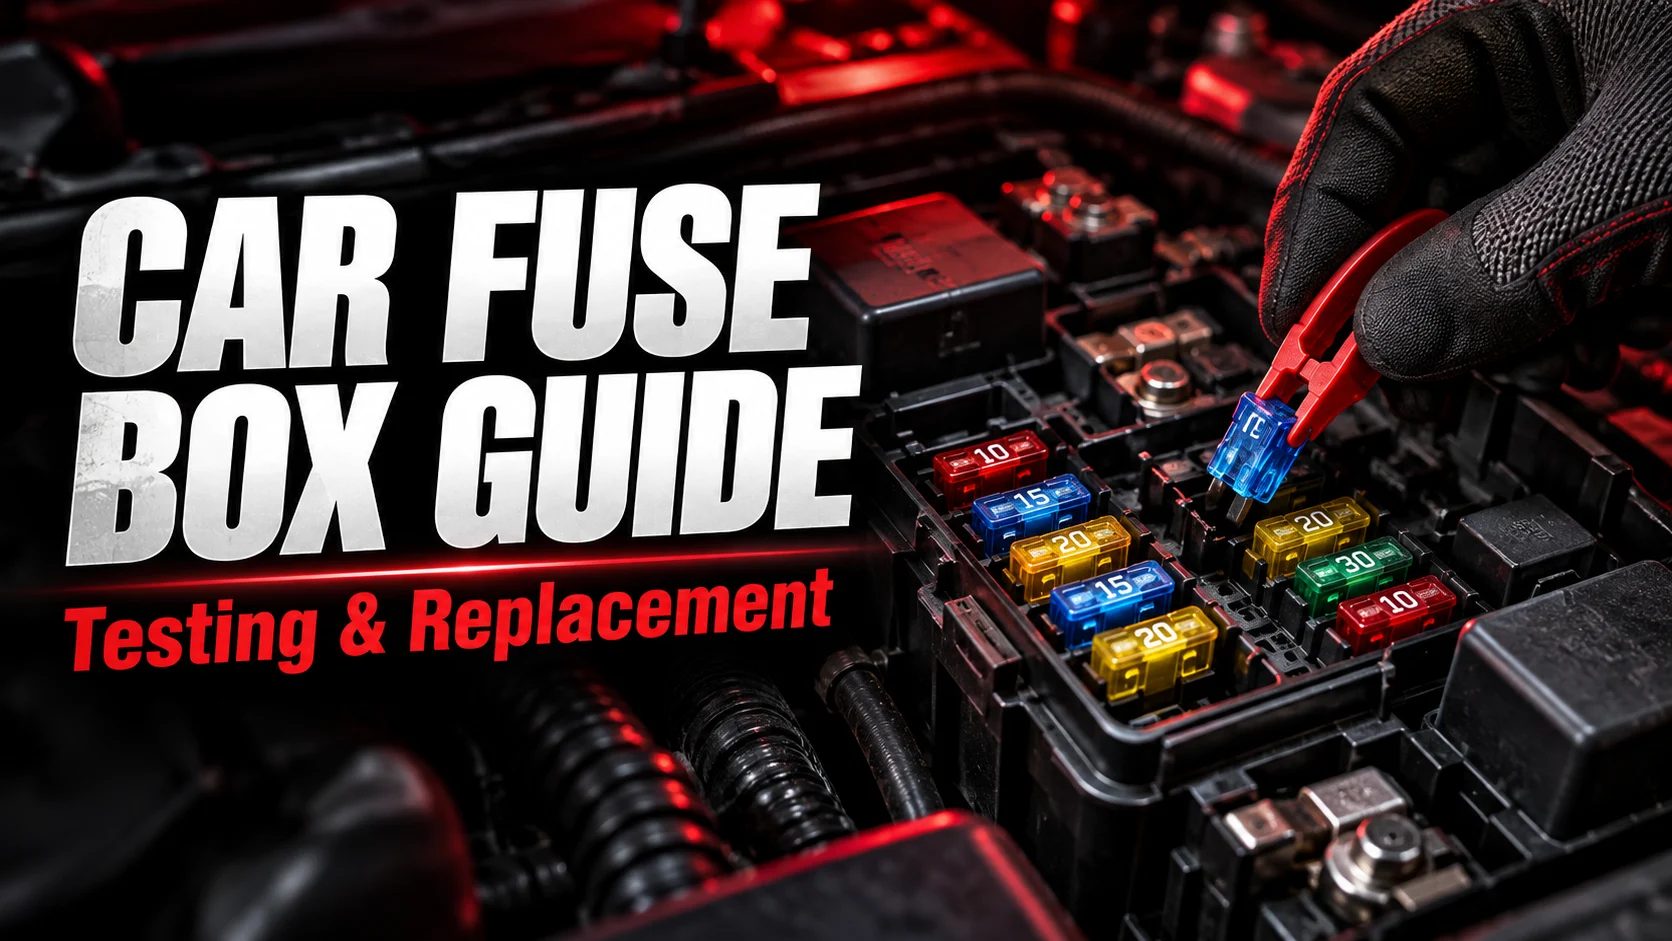

Did your car’s radio, power outlet, headlights, or another electrical accessory suddenly stop working? One of the first things worth checking is the car fuse box. A blown fuse can interrupt the flow of electricity to a specific circuit, although the same symptoms may also have other causes.
This guide explains where automotive fuse boxes are located, how to read a fuse box diagram, how to use a car fuse tester light or multimeter, and how to remove and replace an ordinary low-voltage fuse safely. You will also learn why a replacement fuse might keep blowing.
Quick Answer: How Do You Check a Car Fuse?
Find the circuit in your vehicle’s owner’s manual and fuse box diagram. Under the correct circuit conditions, check suitable accessible fuse test points with a compatible automotive test light. Alternatively, remove the fuse safely and test its continuity using a multimeter while it is isolated and unpowered. Replace a confirmed blown fuse only with the type and amp rating specified by the vehicle manufacturer.
What Is an Automotive Fuse Box and How Does It Work?
An automotive fuse box is an electrical distribution assembly that holds fuses and, on many vehicles, relays. Fuses are protective devices: when excessive current flows through a protected circuit for long enough, a fuse’s internal element opens and interrupts the current.
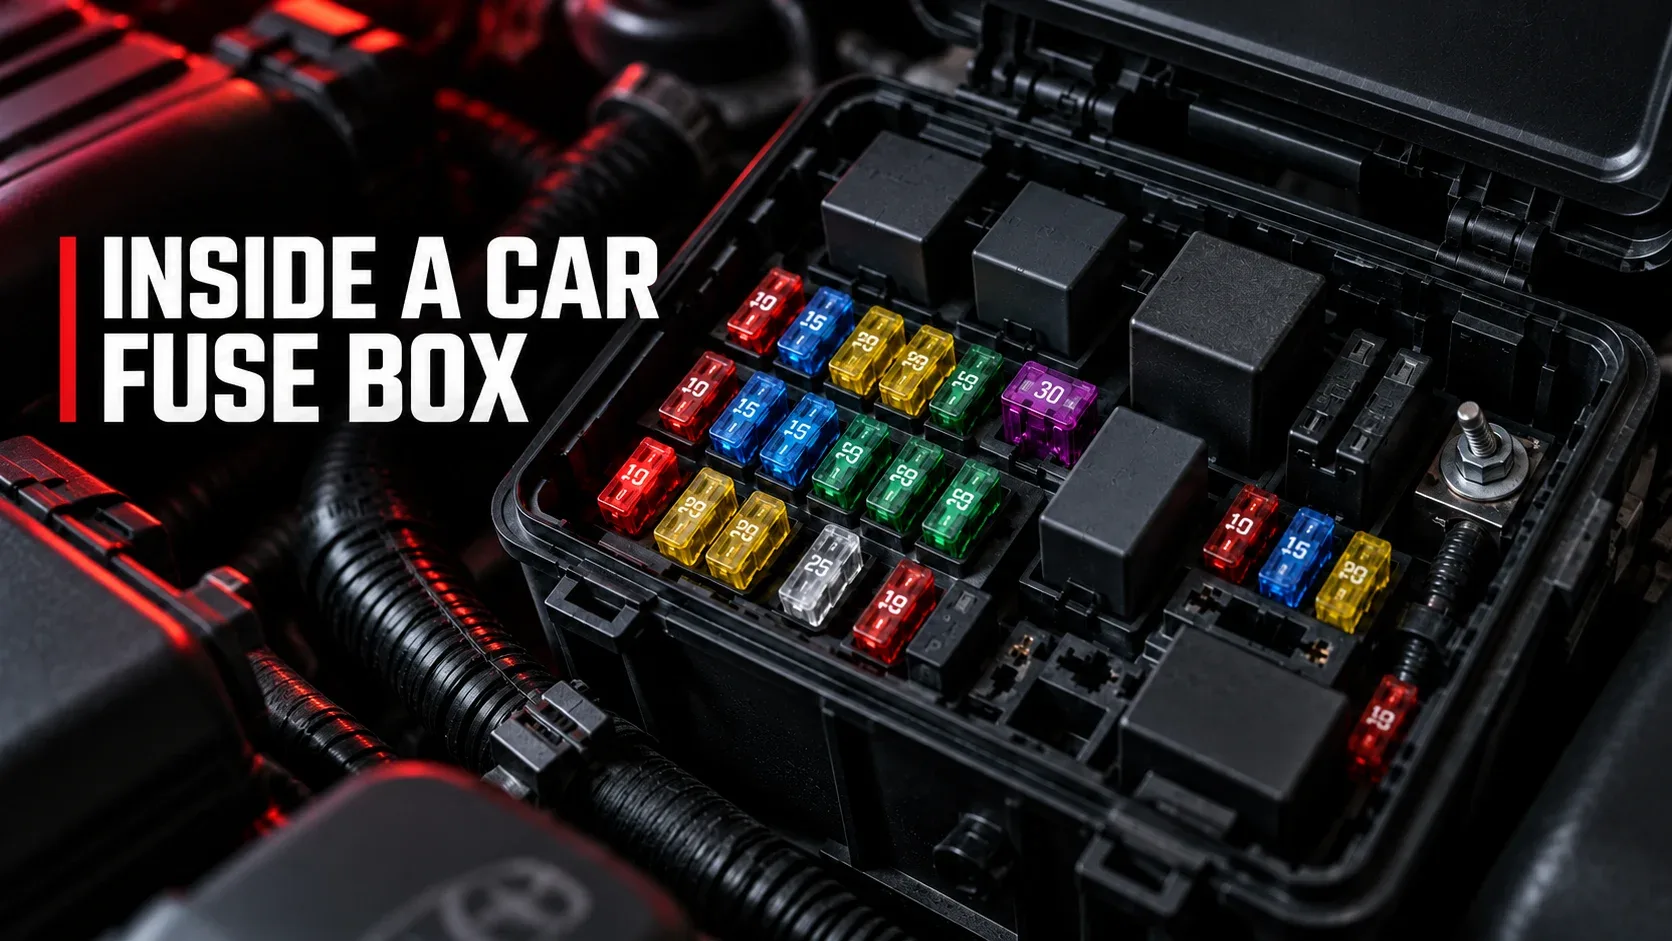
Circuit Protection
Fuses help protect wiring and components from damaging excess current.
Power Distribution
The fuse panel organizes power connections for lights, accessories, and vehicle systems.
Fault Isolation
Different circuits often have their own protection, making fault-finding more focused.
Relay Operation
Relays are electrically operated switches; unlike fuses, they do not primarily provide overcurrent protection.
A fuse is not a cure for a short circuit. It protects the circuit when a problem causes excessive current. If the fault remains, the new fuse may open again.
Where Is the Car Fuse Box Located?
Many cars have more than one car fuse box. Locations differ by make, model, year, and equipment package, so the owner’s manual is the most reliable starting point.
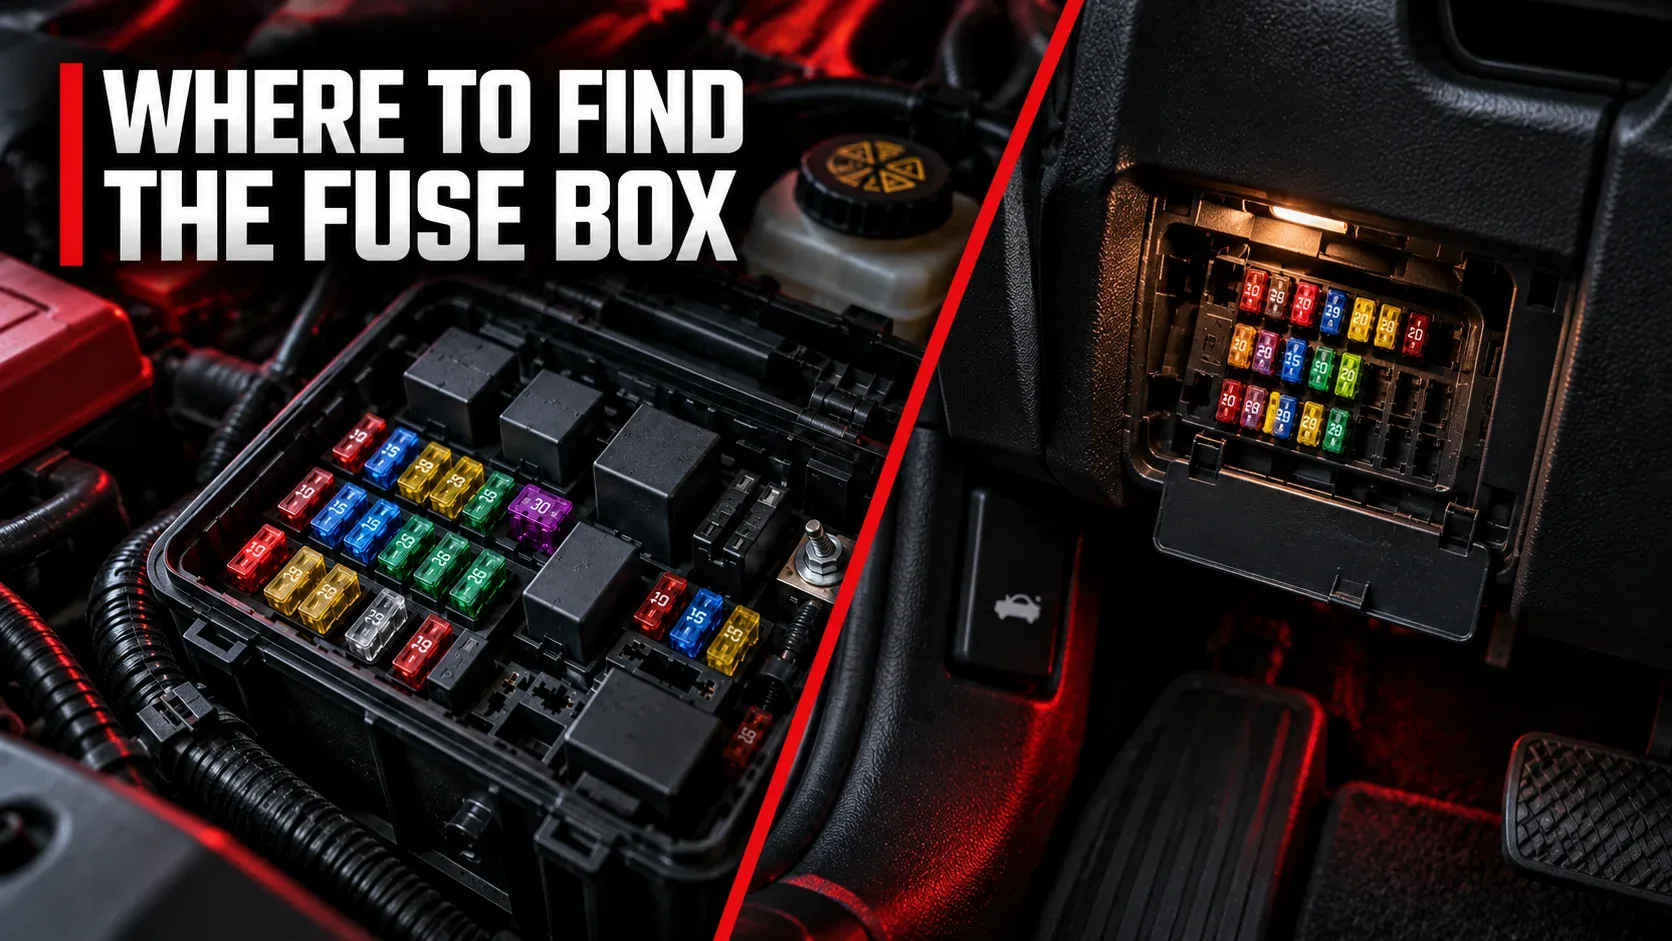
Engine Compartment Fuse Box
Often found near the battery or along the edge of the engine compartment, this panel may contain protection for headlights, cooling fans, engine management, and other systems.
Interior Fuse Panel
Interior panels are often behind a removable cover at the end of the dashboard, below the steering column, or near the glove compartment. They may serve accessory sockets, cabin lights, audio systems, and electronics.
Other Locations
Some vehicles also place fuses in the trunk, rear compartment, or other locations. Do not open unfamiliar high-current or high-voltage electrical assemblies.
How to Read a Car Fuse Box Diagram
A fuse box diagram identifies positions, circuit descriptions, and sometimes the amperage rating of individual fuses. You may find one on the inside of a fuse box cover or in official vehicle documentation.
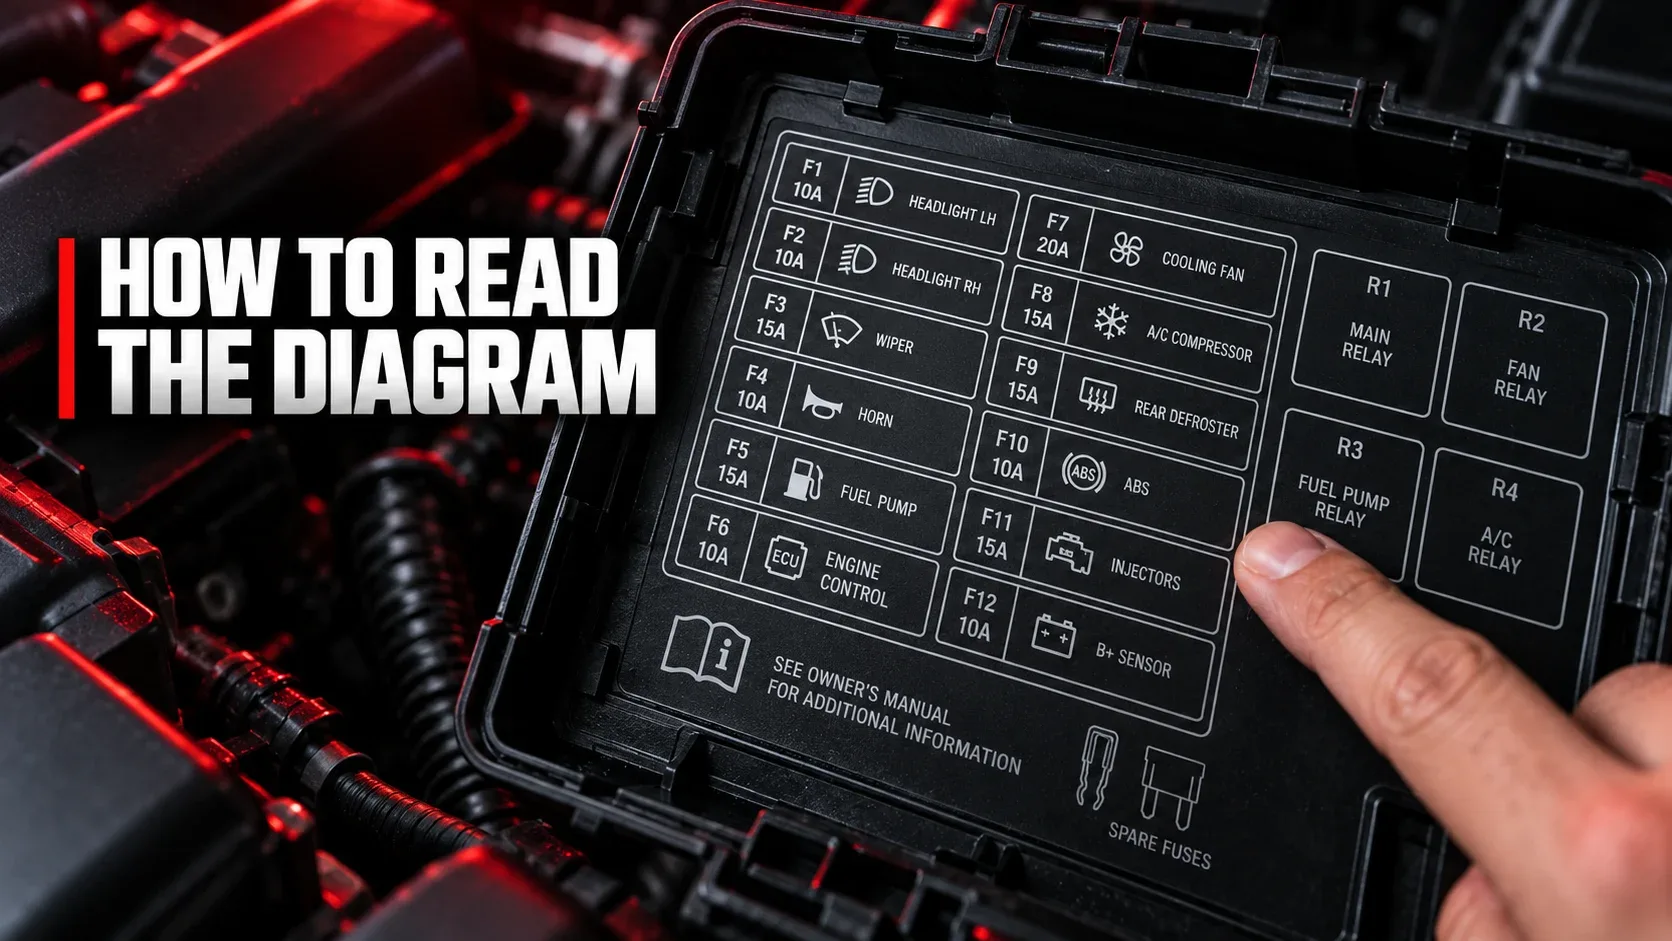
| Example Label | Typical Meaning | Relevant System |
|---|---|---|
| ACC | Accessory | Vehicle accessory circuits |
| RADIO | Audio | Radio or infotainment |
| P/OUTLET | Power outlet | 12V socket |
| WIPER | Windshield wipers | Wiper circuit |
| HORN | Horn | Horn system |
| ABS | Anti-lock braking | Braking electronics |
| ECU / ECM | Control module | Vehicle electronic controls |
Find the Correct Fuse in Four Steps
- Identify the failed accessory.
Determine exactly which device or electrical function stopped working.
- Find the correct diagram.
Use the documentation for the vehicle’s exact year, model, and configuration.
- Match the circuit and position.
Confirm the panel, fuse number, and physical slot rather than guessing.
- Record the specified fuse rating.
Note the exact amperage and type before removing the fuse.
Types of Automotive Fuses and Their Amp Ratings
Common automotive fuses include standard blade, mini, low-profile mini, micro, and maxi designs. They vary in size, terminal layout, and intended application; they are not automatically interchangeable.
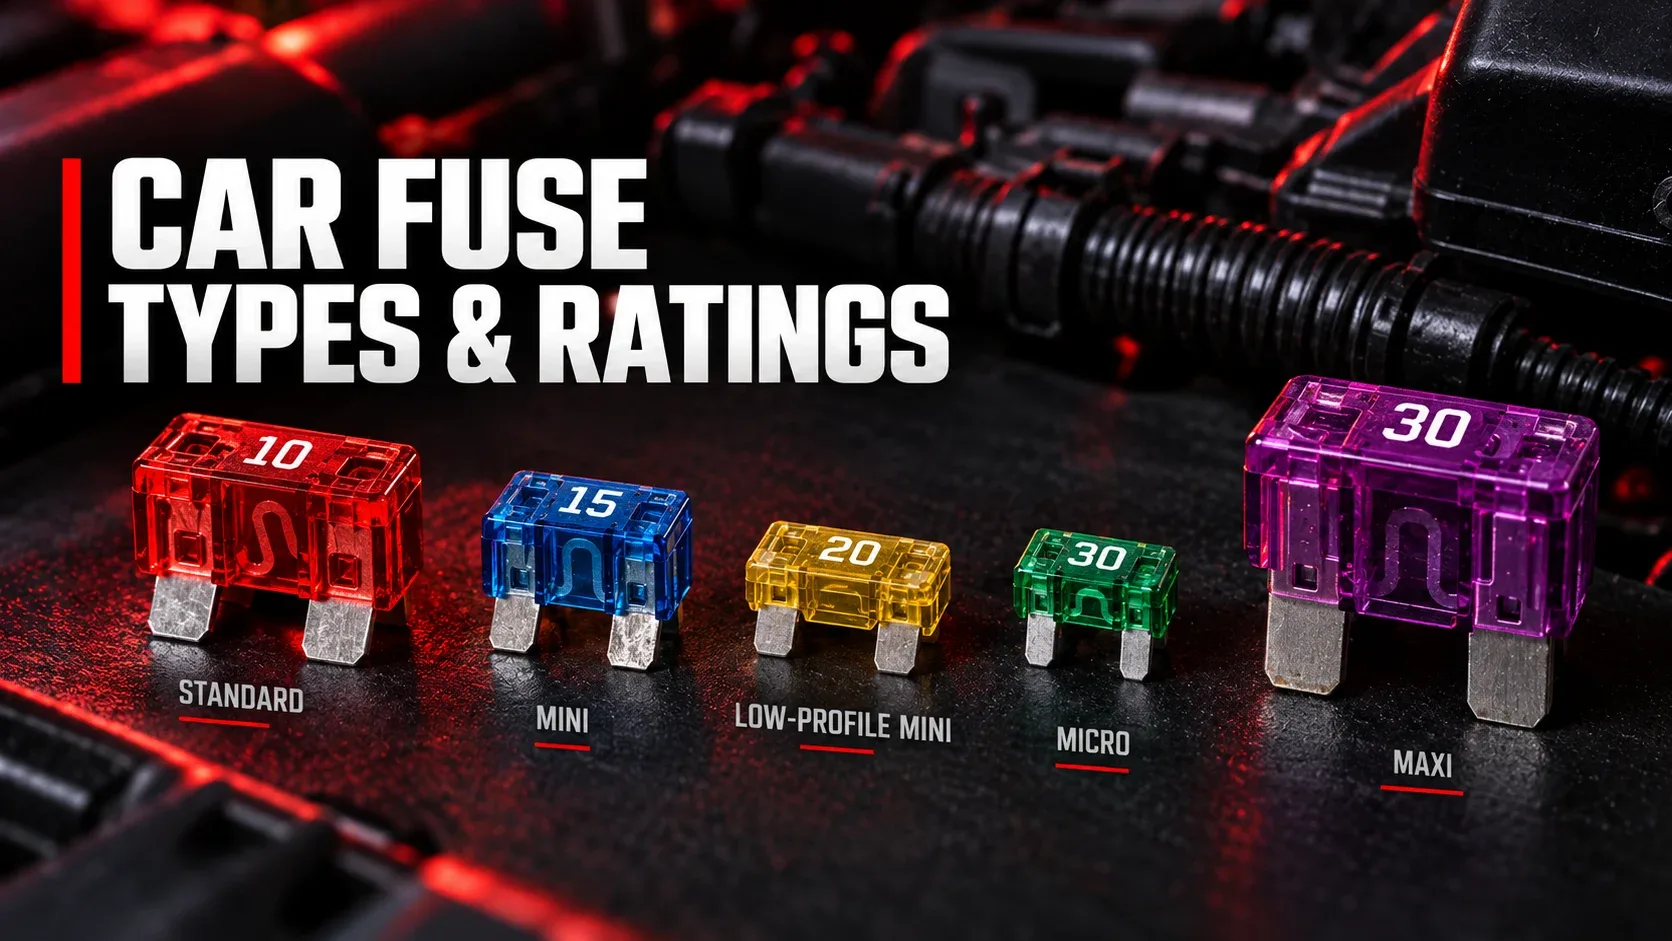
| Fuse Type | General Characteristics | Where You May See It |
|---|---|---|
| Standard blade | Full-size two-blade format | Many conventional vehicle panels |
| Mini blade | Compact blade format | Space-saving fuse panels |
| Low-profile mini | Shorter mini-style housing | Compact newer layouts |
| Micro | Very small format; multiple designs exist | Dense electronics panels |
| Maxi | Larger format for higher-current applications | Selected high-current circuits |
What Does the Amp Number Mean?
Ratings such as 5A, 10A, 15A, 20A, and 30A identify a fuse’s electrical protection characteristics. Color coding is often helpful for identification, but printed markings and exact manufacturer specifications take priority.
Signs of a Blown Car Fuse
A blown fuse can leave a specific accessory without power. Common clues include a suddenly dead power socket, non-working radio, inactive lights, or a device that fails after an electrical overload. These signs suggest what to investigate; they do not prove a fuse has failed.
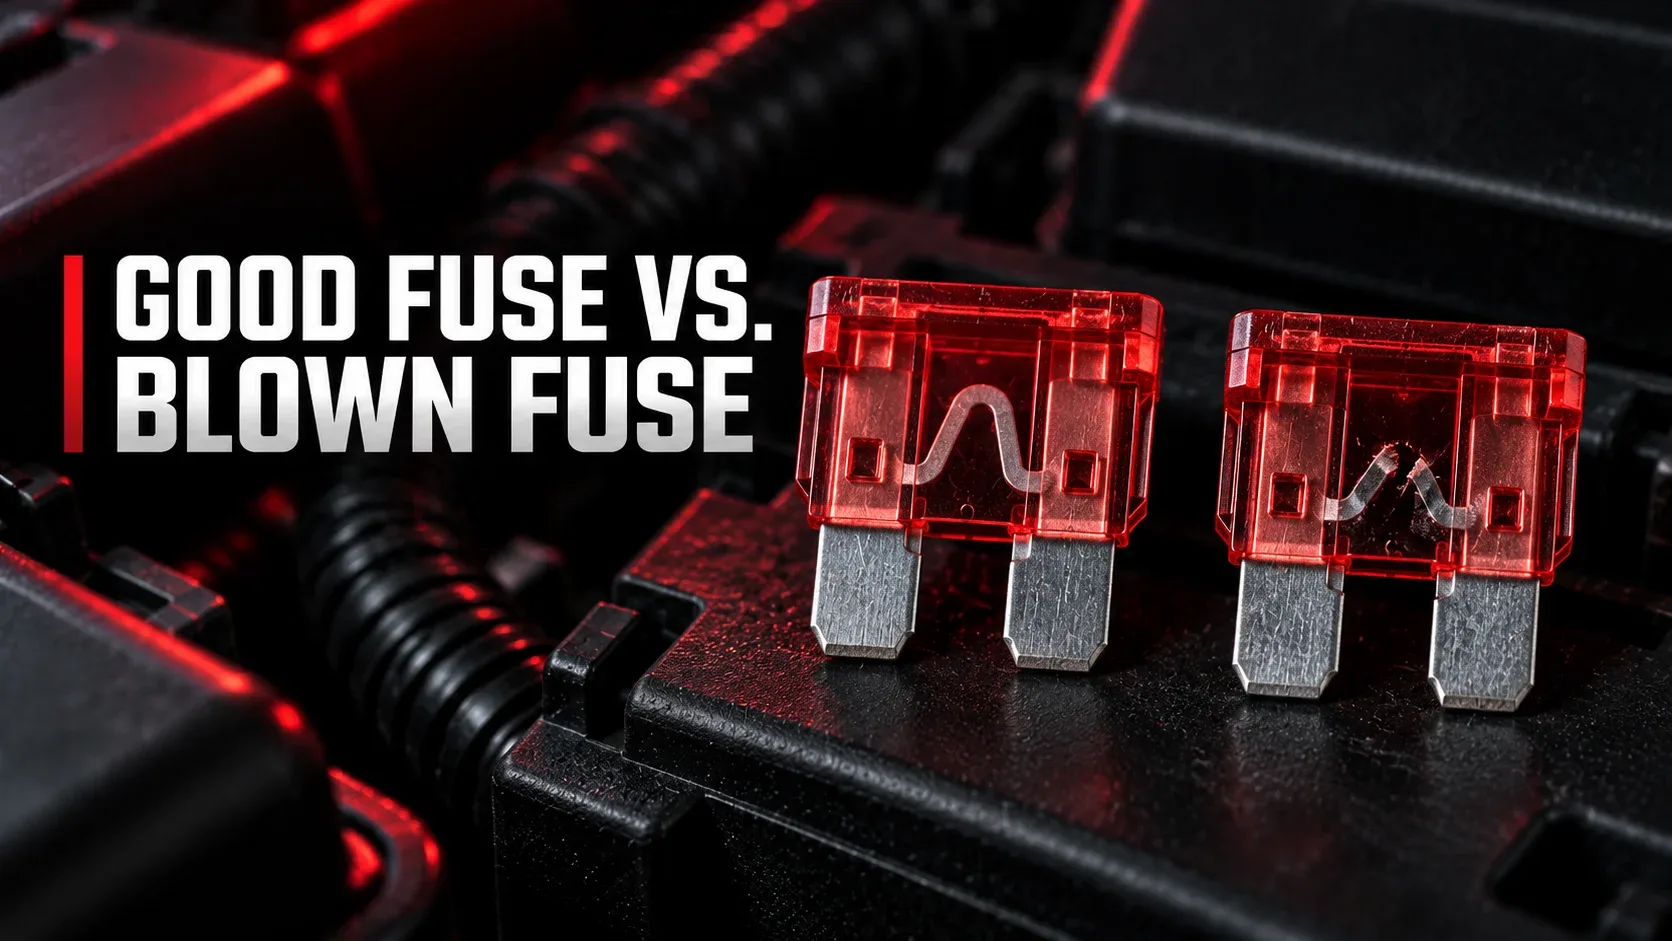
Can a Fuse Look Good but Still Be Bad?
Yes. A clear plastic fuse sometimes makes a broken element visible, but damage is not always obvious. A continuity check on an isolated fuse or a suitable voltage test can provide stronger diagnostic evidence.
How to Test Car Fuses With a Fuse Tester or Test Light
A car fuse tester helps check the electrical condition of an automotive circuit. A car fuse tester light is useful for voltage-presence testing, while a digital multimeter can be used for voltage or isolated continuity measurements.
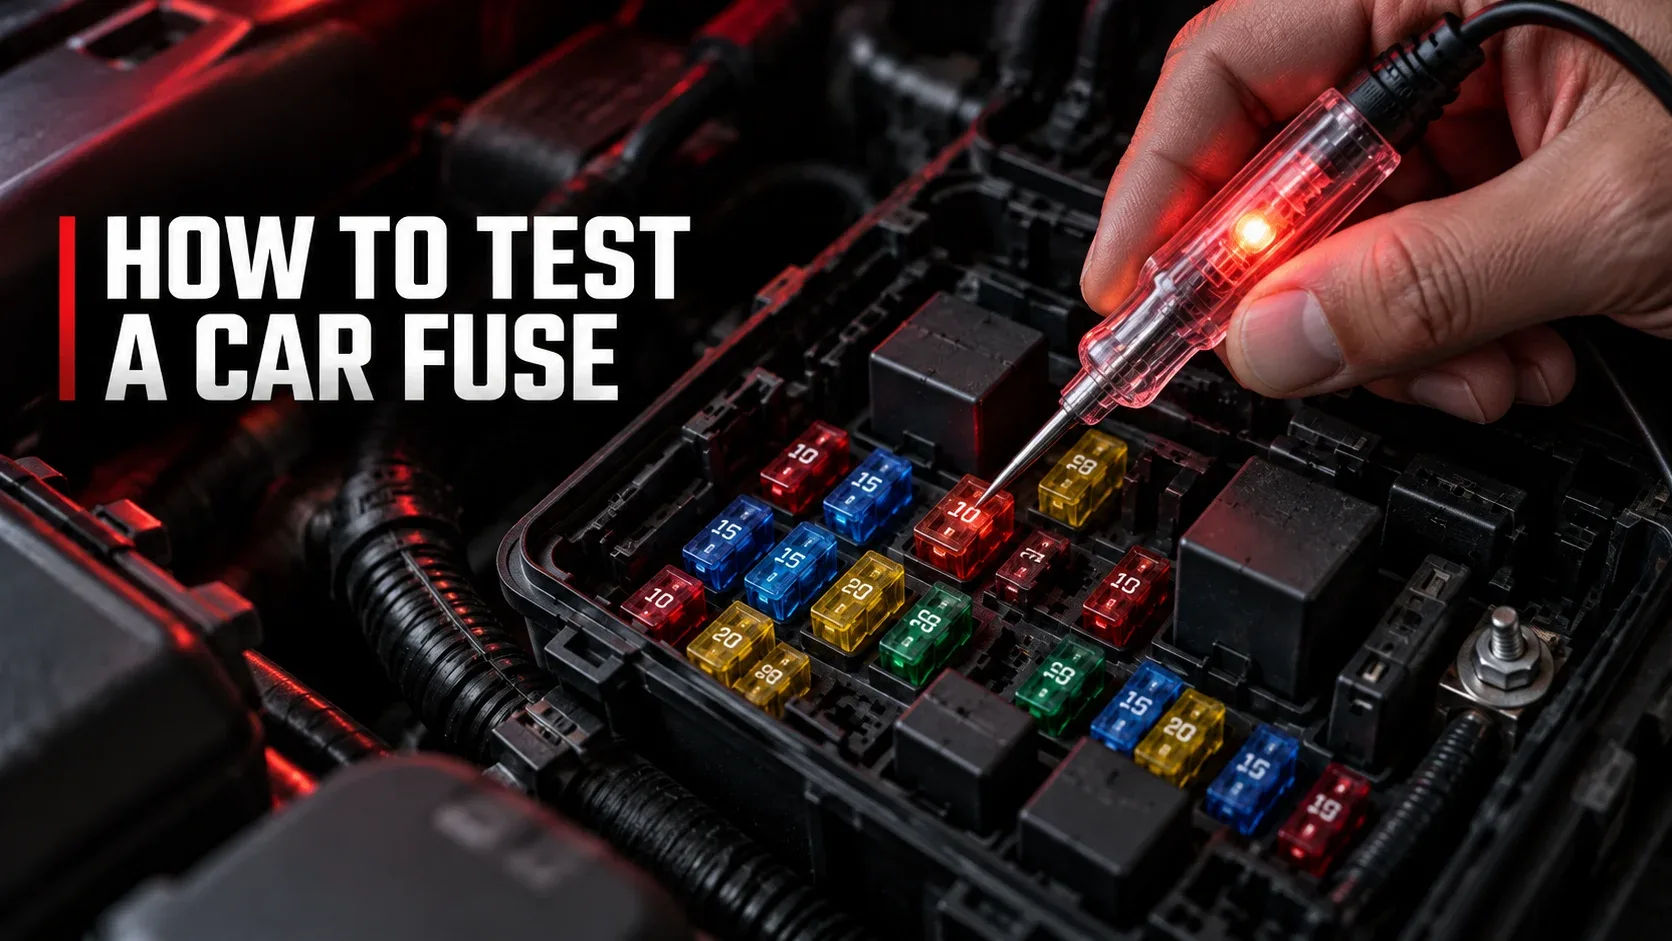
Method 1: Car Fuse Tester Light
- Check tool compatibility.
Use equipment rated for the vehicle’s electrical system. Avoid inappropriate high-current test lights on sensitive electronics.
- Identify the fuse.
Confirm the correct fuse and accessible test points using vehicle documentation.
- Connect to a suitable reference.
Connect a conventional ground-referenced tester to an appropriate verified ground, according to its instructions.
- Apply the correct circuit power state.
Some circuits have power only with an accessory or ignition switched on. Follow the manufacturer’s instructions.
- Probe each accessible test point.
Do not bridge nearby terminals with the test probe. Observe the indication at both points.
- Interpret the result cautiously.
Under the correct conditions, voltage at both sides generally suggests conduction; voltage at only one side suggests an open fuse. No voltage at either side may mean the circuit is not powered.
| Test Light Response | Possible Interpretation | Next Action |
|---|---|---|
| Lights at both points | Fuse likely conducting | Check other causes if accessory is dead |
| Lights at only one point | Fuse may be open | Confirm and inspect safely |
| No light at either point | No supply, wrong operating state, or upstream issue | Check power state, ground, and tester |
Method 2: Test a Removed Fuse With a Multimeter
- Turn off and safely isolate the circuit.
Follow the vehicle’s shutdown instructions before removing a serviceable low-voltage fuse.
- Remove the correct fuse.
Use an appropriate car fuse puller and note its position and rating.
- Choose continuity or resistance mode.
Check that the meter functions as expected before testing.
- Touch the probes to opposite fuse terminals.
Very low resistance generally suggests a good fuse; an open reading suggests a failed fuse.
How to Remove and Replace a Car Fuse Safely
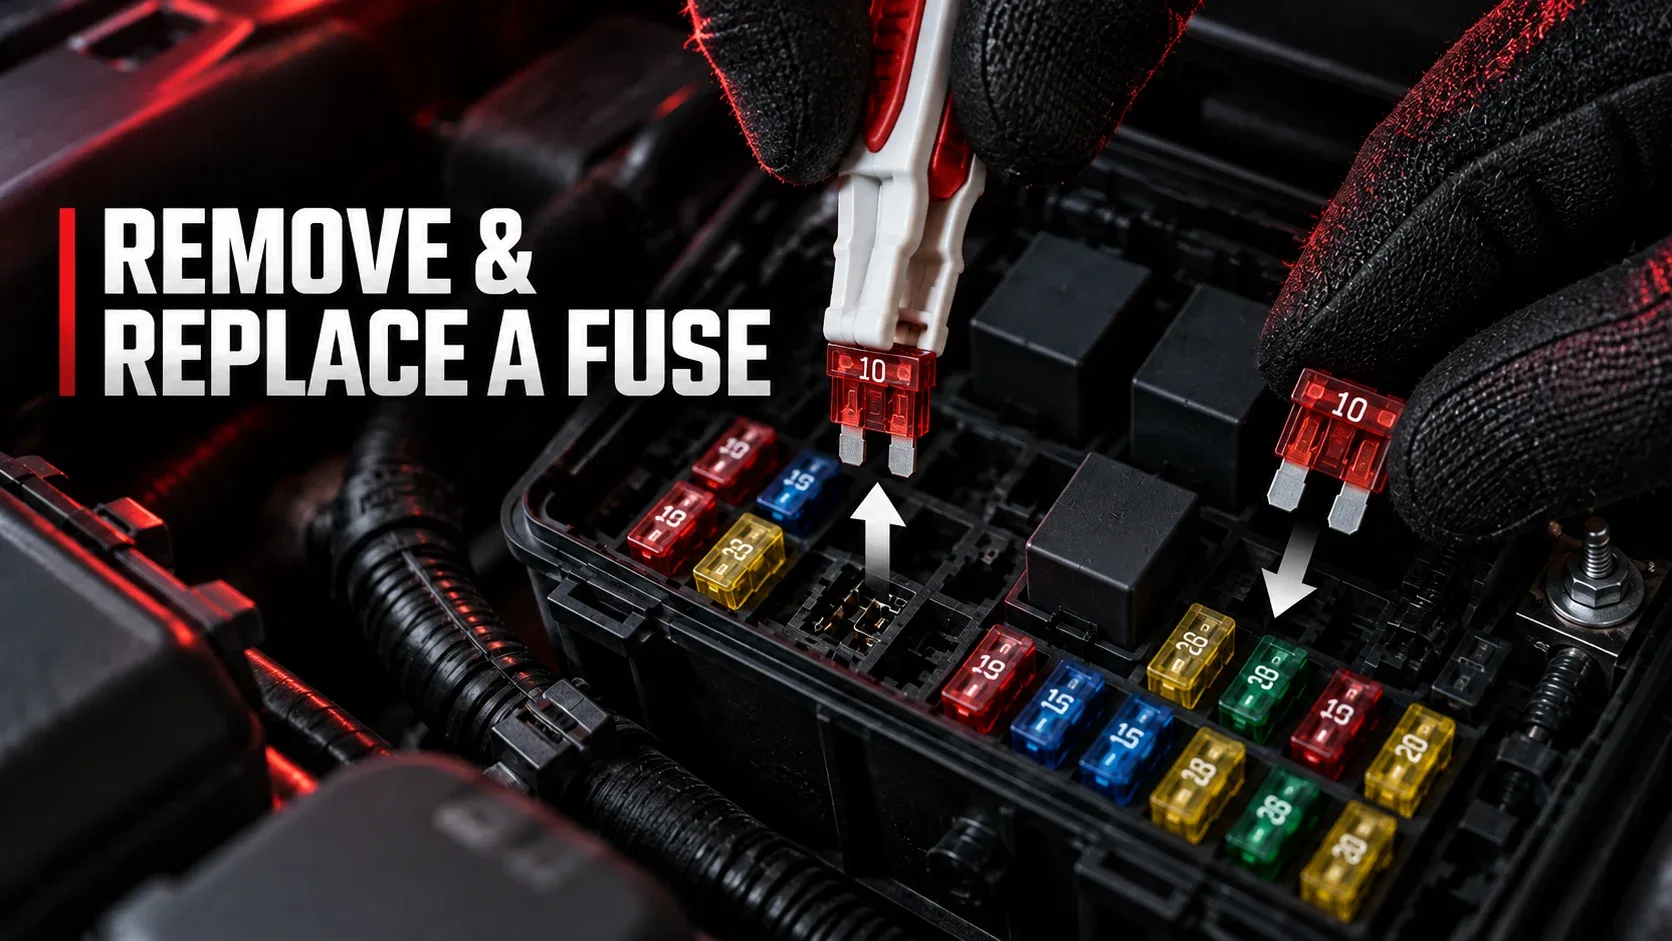
Routine low-voltage fuse replacement is usually simple once the exact fuse has been identified and tested. Use the correct replacement specification, follow shutdown procedures, and avoid forcing the fuse holder.
Tools to Prepare
Car Fuse Puller
Designed to grip a fuse without using metal removal tools near live conductors.
Exact Replacement Fuse
Match the specified amperage, physical design, and other manufacturer requirements.
Owner’s Manual
Confirm panel location, fuse position, and removal precautions.
Tester or Multimeter
Confirm failure with an appropriate diagnostic method.
Step-by-Step Replacement
- Confirm the circuit and rating.
Use the vehicle-specific fuse box diagram and record the specified fuse type.
- Shut the vehicle down appropriately.
Turn accessories off and follow the manual’s instructions. Do not disconnect the battery unless instructed.
- Open the serviceable fuse cover.
Remove it carefully without disturbing nearby wires or connectors.
- Use a car fuse puller.
Grip the correct fuse and pull it straight out without excessive twisting.
- Confirm the old fuse is blown.
Inspect or test it while isolated from power.
- Install the exact replacement.
Insert a matching fuse into the correct slot, seating it securely without force.
- Reinstall the panel cover.
Remove tools and ensure the cover is properly secured.
- Check operation.
Restore the circuit’s normal operating state and test the affected accessory.
Can You Remove a Fuse Without a Puller?
Some accessible larger fuses can be removed by hand when permitted by the owner’s manual. For small blade fuses, a plastic car fuse puller provides better control. Avoid uninsulated metal pliers or screwdrivers that can bridge terminals or damage the holder.
Why Does a Car Fuse Keep Blowing?
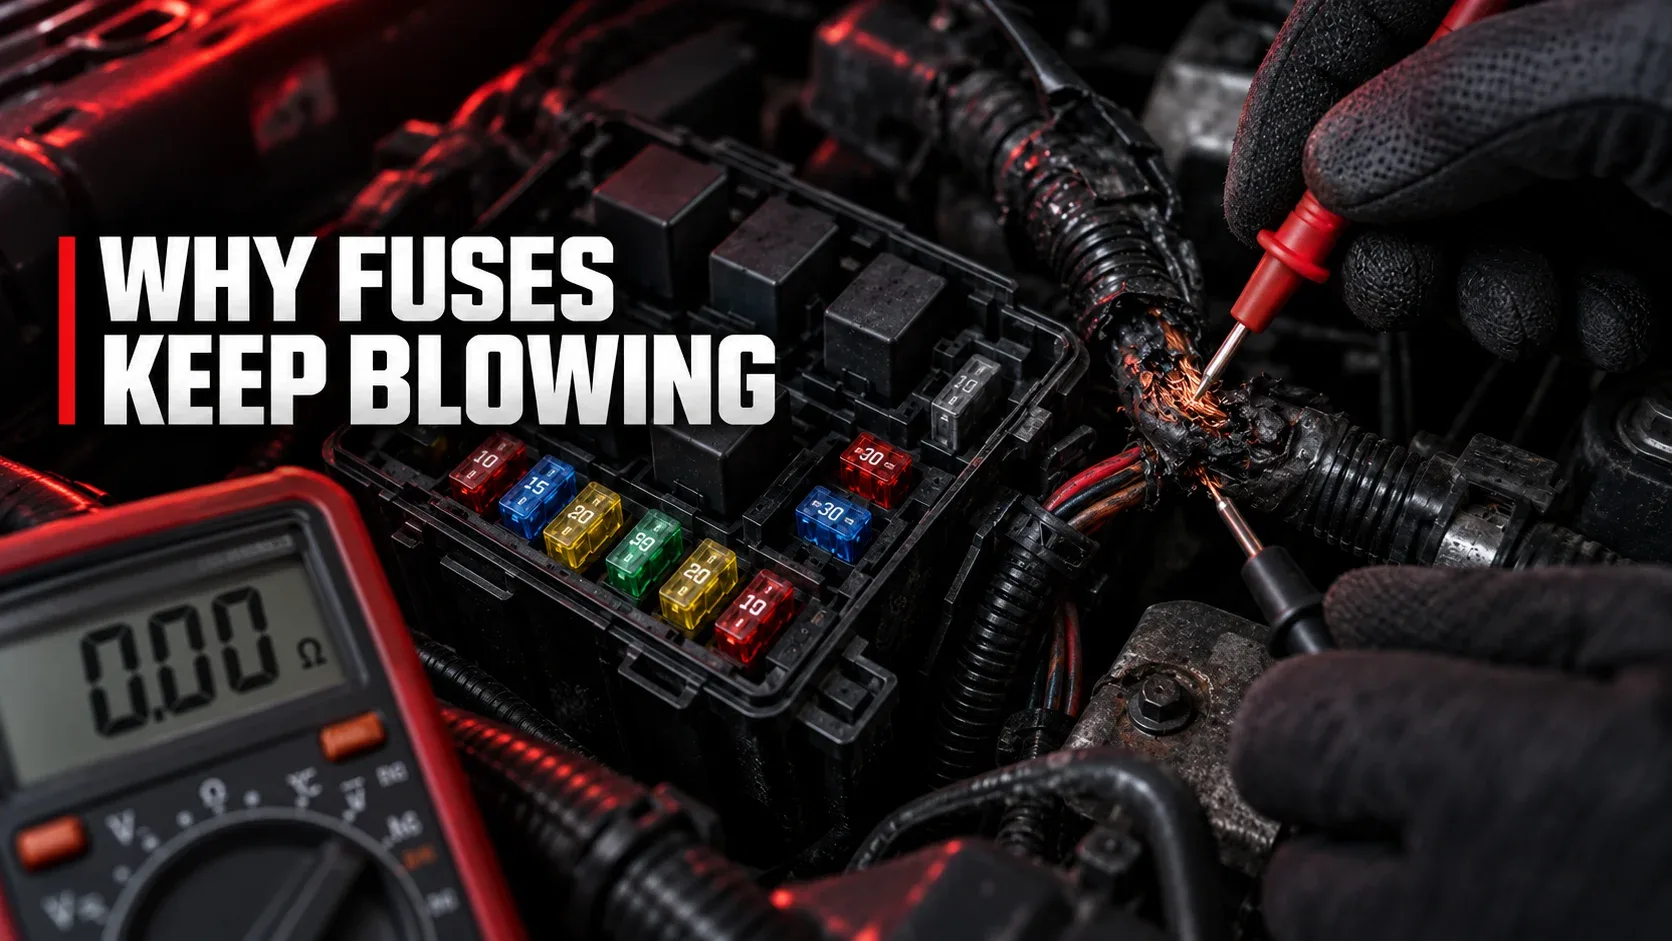
Repeated fuse failure usually indicates an unresolved electrical issue rather than a need for a stronger fuse. Possible causes include short circuits, damaged insulation, faulty components, incorrectly installed aftermarket accessories, or a replacement fuse with the wrong specification.
| Possible Cause | What Could Be Happening | Safe Response |
|---|---|---|
| Short circuit | Current takes an unintended electrical path | Stop replacing fuses; arrange diagnosis |
| Damaged wiring | Frayed or pinched insulation creates a fault | Have wiring checked and repaired |
| Failed accessory | A component draws abnormal current | Test and repair the component |
| Wrong fuse | Type or rating does not match specifications | Consult the manual before replacing |
| Aftermarket electrical work | Modification increases load or creates a fault | Have the installation inspected |
Common Car Fuse Testing and Replacement Mistakes
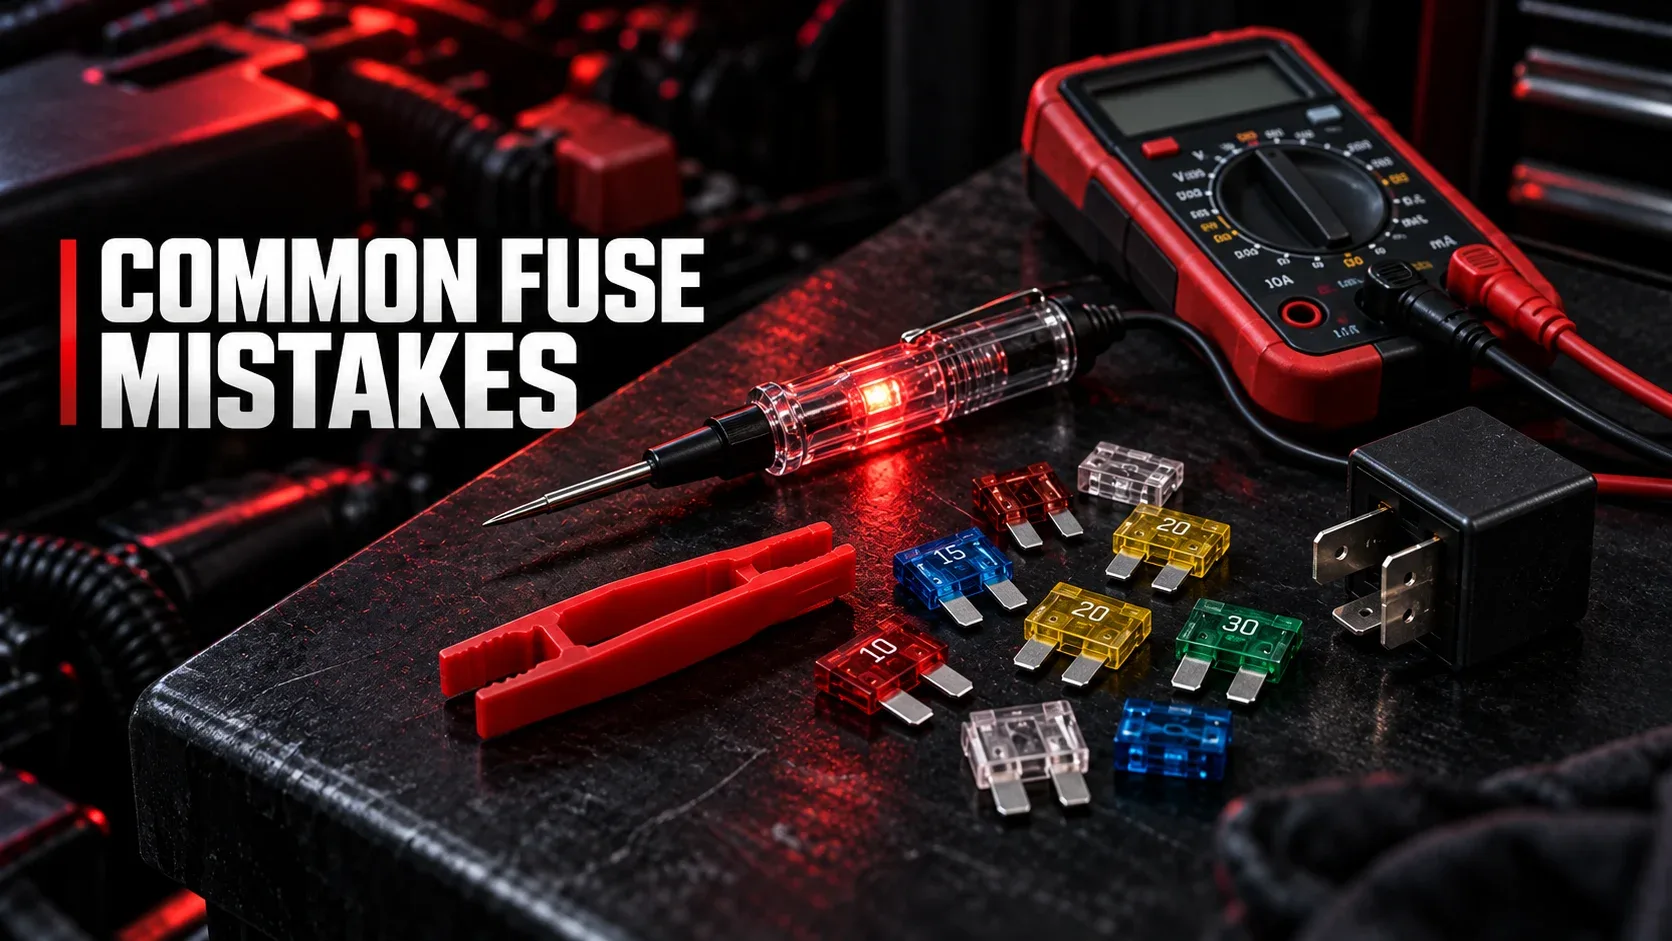
Most errors arise from guessing which fuse to check, misunderstanding test light results, or treating a blown fuse as the whole problem rather than a protective response to an electrical fault.
| Mistake | Better Practice |
|---|---|
| Using a generic diagram for another vehicle | Use the documentation for your exact vehicle |
| Choosing a fuse by color alone | Confirm printed rating and compatible type |
| Installing a higher-amperage fuse | Use the specified amperage only |
| Assuming no test light means a blown fuse | Check the circuit’s required power state and ground reference |
| Testing continuity on an energized circuit | Isolate the fuse before resistance testing |
| Using conductive tools to remove a fuse | Use a suitable plastic fuse puller |
| Repeatedly replacing a failed fuse | Investigate the underlying circuit fault |
Quick Car Fuse Troubleshooting Checklist
Use this mobile-friendly checklist to keep track of the safe basic steps as you diagnose a suspected fuse failure.
Frequently Asked Questions About Car Fuse Boxes
How do I know if my car fuse box is bad?
Multiple electrical failures, corrosion, damaged terminals, or signs of overheating may suggest a fuse panel issue, but testing is needed to confirm the cause. Have a qualified technician inspect suspected panel damage.
Can a car fuse look good but still be blown?
Yes. The internal failure may be difficult to see. A proper continuity test on an isolated fuse can help confirm its condition.
Can I use a car fuse tester light on every fuse?
No. The test light must be suitable for the circuit, and not all fuses have accessible test points. Sensitive electronics and high-voltage systems require different precautions.
Can I test a fuse without removing it?
Some conventional blade fuses can be checked in place with an appropriate voltage tester if the circuit is correctly energized. For a direct continuity check, remove and isolate the fuse first.
Do I need a car fuse puller?
Not always, but a dedicated plastic puller is often the safer and easier way to remove small blade fuses without damaging nearby terminals.
Can I replace a 10A fuse with a 15A fuse?
No. The replacement must match the manufacturer’s specified amperage and suitable fuse type. Increasing the amp rating can defeat the designed protection.
Why does a replacement car fuse keep blowing?
An unresolved short, damaged wiring, a failed electrical component, or incorrectly installed aftermarket equipment may be responsible. Stop repeated replacements and seek a proper diagnosis.
Does every car have the same fuse box diagram?
No. Fuse assignments and locations differ with vehicle model, model year, and options. Use the documentation for your specific vehicle.
Is it safe to drive with a blown fuse?
That depends on the circuit. Do not drive if headlights, wipers, braking electronics, or another safety-critical system is affected.
Final Thoughts on Car Fuse Testing and Replacement
A basic understanding of the car fuse box, its diagram, and the right testing tools can help you handle straightforward electrical problems more confidently. The process starts with identifying the correct fuse, verifying the diagnosis, and fitting an exact replacement.
A fuse is part of the vehicle’s safety design, not a permanent workaround for electrical faults. If it fails repeatedly or the panel shows signs of overheating, a professional electrical diagnosis is the safest next step.
Keep Your Vehicle’s Electrical System Protected
Use your owner’s manual, match fuse ratings exactly, and never bypass a blown fuse. When a fault involves damaged wiring, repeated failure, or safety-critical equipment, seek qualified help.