
Steering & Suspension • Tool Guide
A stubborn ball joint can bring a suspension repair to a halt. The right ball joint separator helps disconnect the joint from its tapered mounting point, but choosing the wrong tool—or forcing it into the wrong place—can damage expensive steering components.
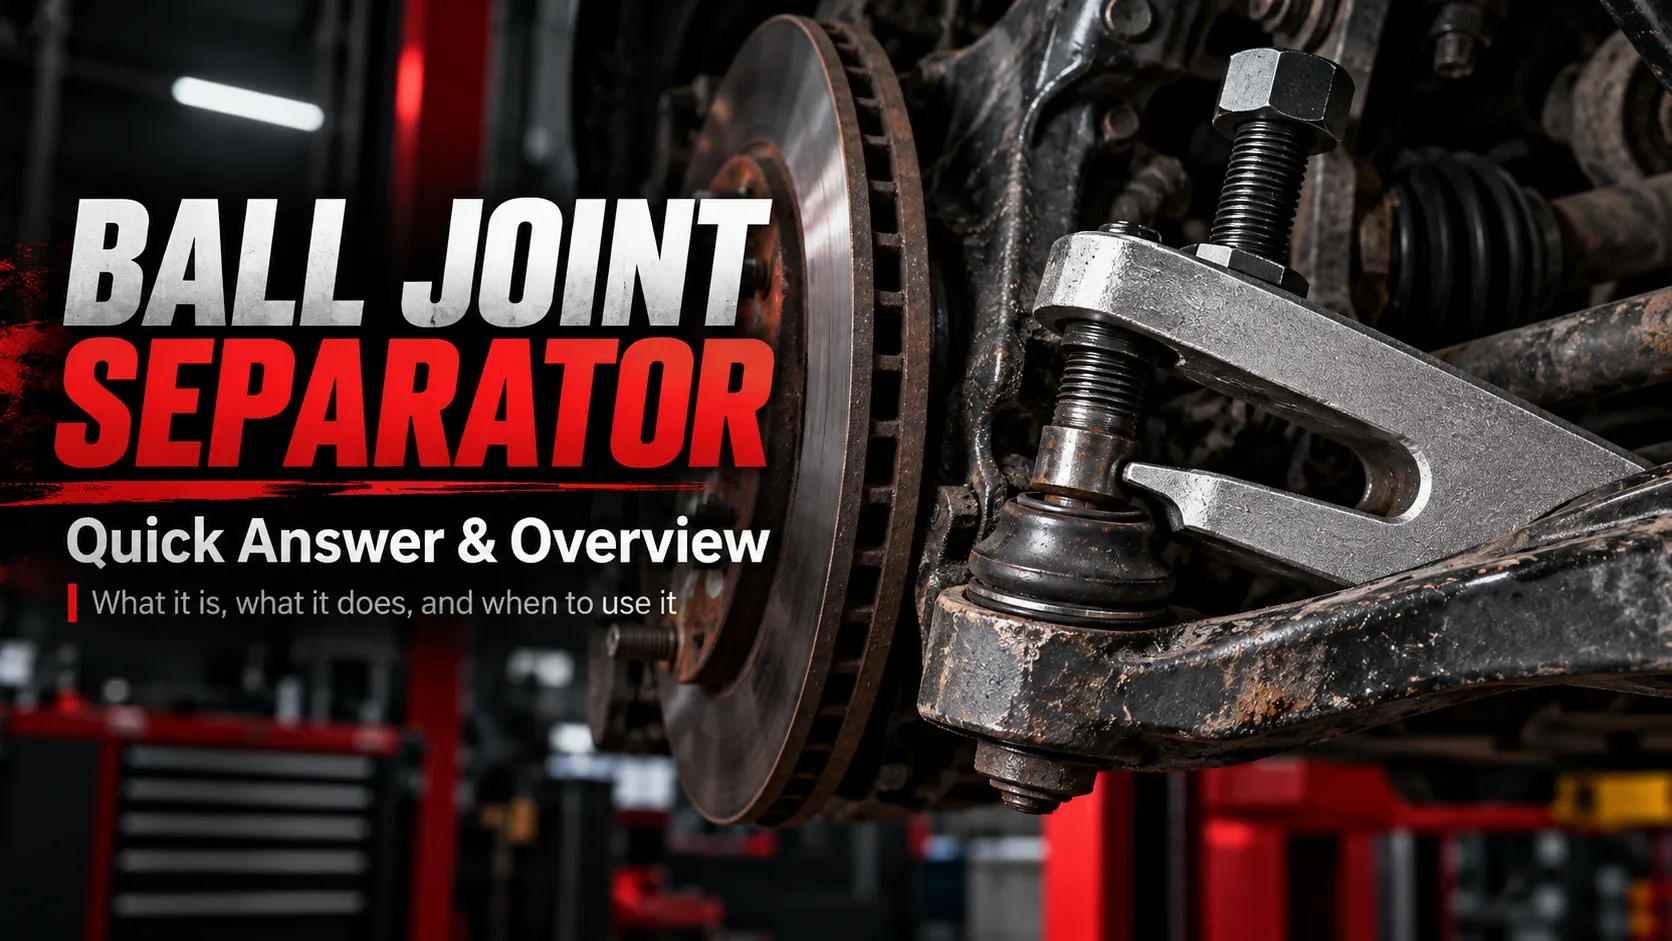
A ball joint separator is a specialized automotive tool used to release a ball joint’s tapered stud from a steering knuckle or other mating component. Common designs include wedge-style pickle forks and screw-operated separators. The safest choice depends on the vehicle, access, joint condition, and whether the dust boot must be preserved.
This guide explains how a ball joint separator tool works, which designs suit different jobs, the precautions that matter, and what to do when a connection refuses to release. Because suspension designs vary, the manufacturer’s repair procedure always takes priority over generic instructions.
What Is a Ball Joint Separator?
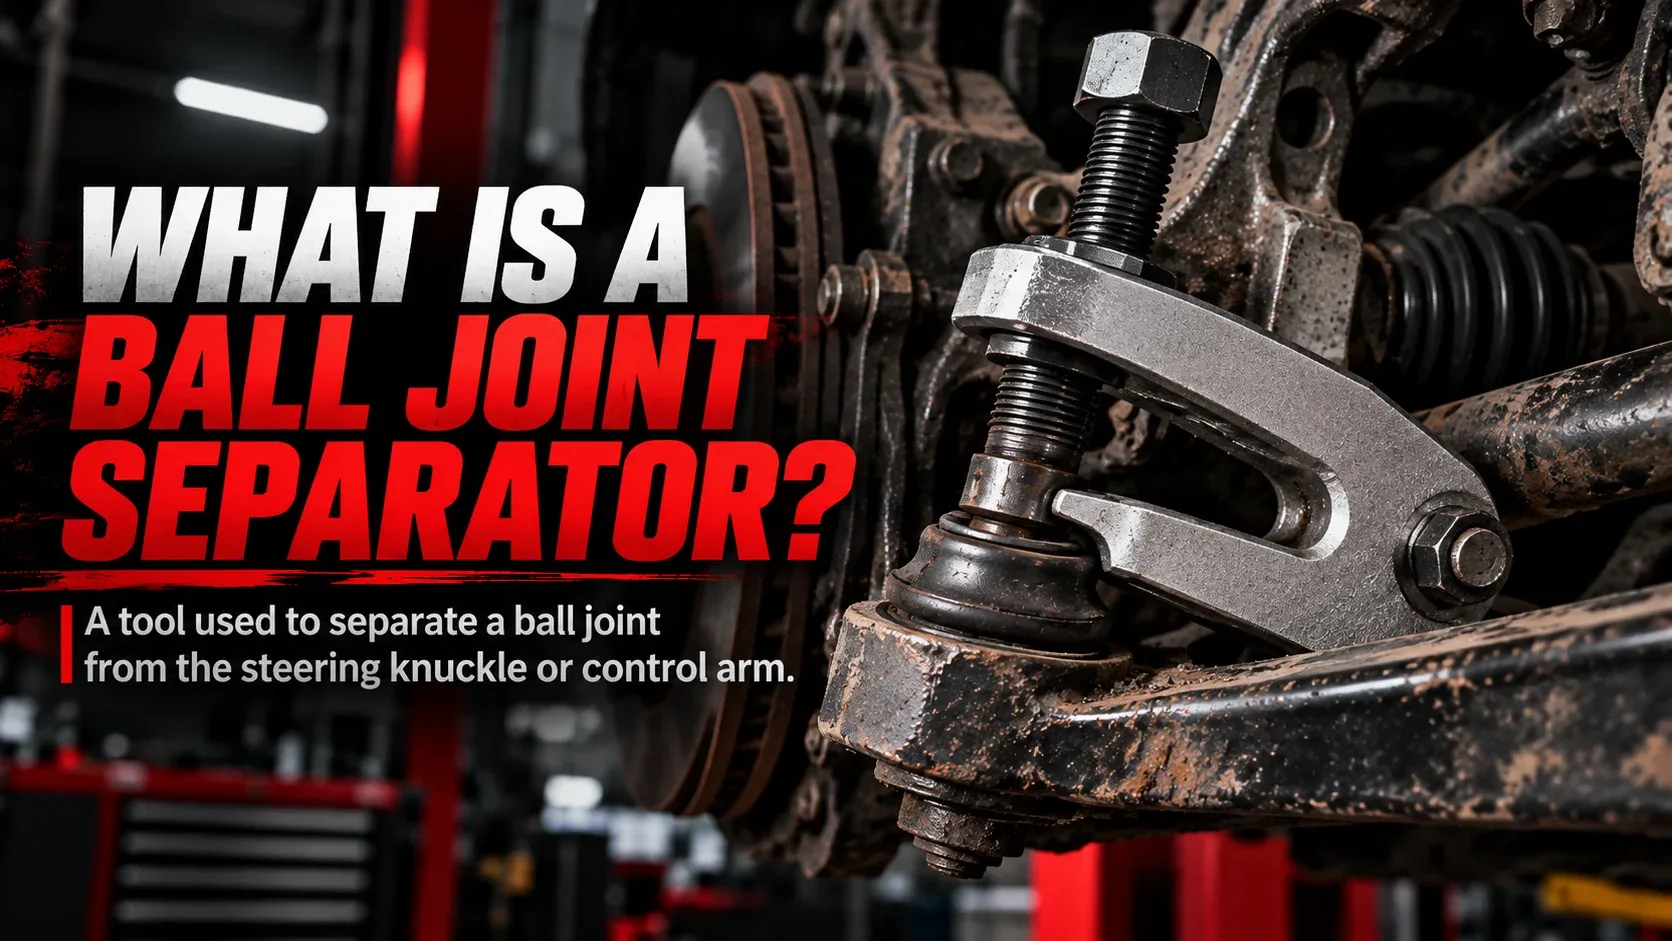
A ball joint links suspension components while allowing controlled movement as the wheels steer and the suspension travels. On many vehicles, the joint uses a tapered metal stud that fits tightly into a corresponding tapered hole in the steering knuckle. A retaining nut holds the connection together.
Even after the retaining hardware is addressed according to the repair manual, the taper may remain tightly seated. A separator applies force across that connection so the stud can release. It is not normally intended to push an entire press-fit ball joint housing out of the control arm.
tapered stud↔Steering knuckle
tapered bore
Ball joint separators may also resemble tools used on some tie-rod ends and steering linkages. Similar appearance does not guarantee interchangeability: each application requires the correct jaw profile, reach, and contact points.
How Does a Ball Joint Separator Tool Work?
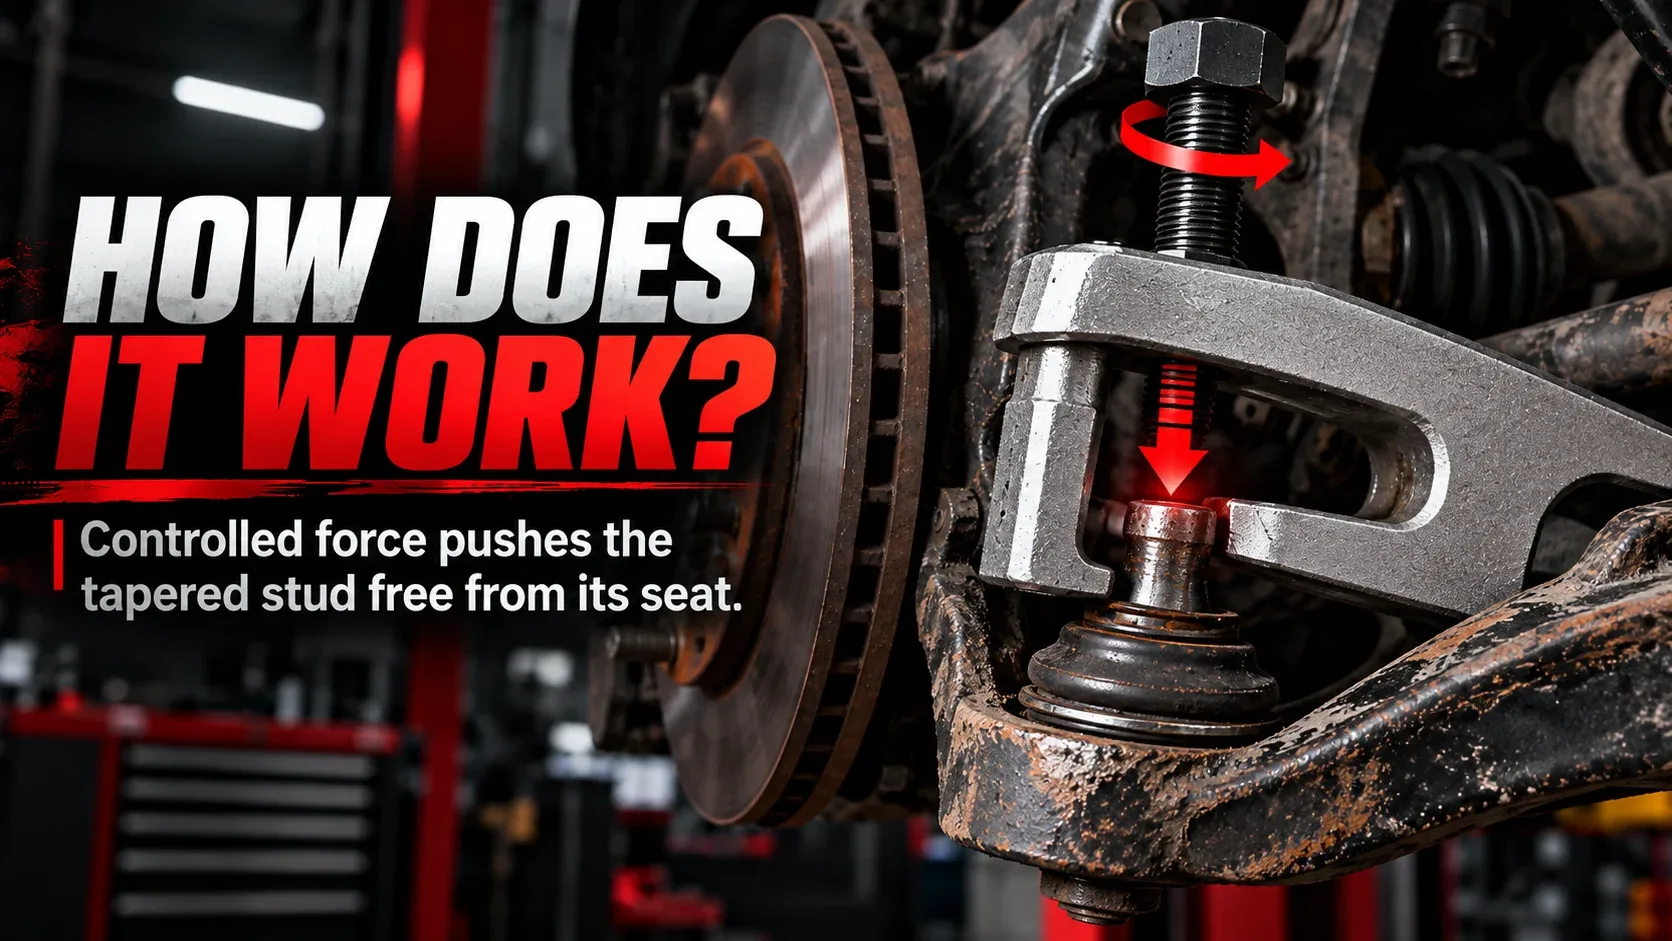
A tapered stud holds tightly because its angled surfaces seat against the matching bore. A separator overcomes that grip by applying force in a controlled direction. The principle is straightforward, but the way force is delivered differs by tool style.
Screw-driven action
A threaded forcing screw moves a pressure point against the joint while the tool’s opposing section reacts against a specified sturdy surface. As the screw advances, it loads the tapered connection until it releases.
Pickle-fork action
A two-pronged wedge is driven into the gap at the joint. Increasing wedge thickness forces the connected parts apart. This method can be effective for removal but commonly damages the dust boot.
A sudden release or popping sound can occur when the taper separates. That does not mean it is safe to work without eye protection, approved support equipment, or the correct procedure. Components can move unexpectedly as the joint releases.
Types of Ball Joint Separators
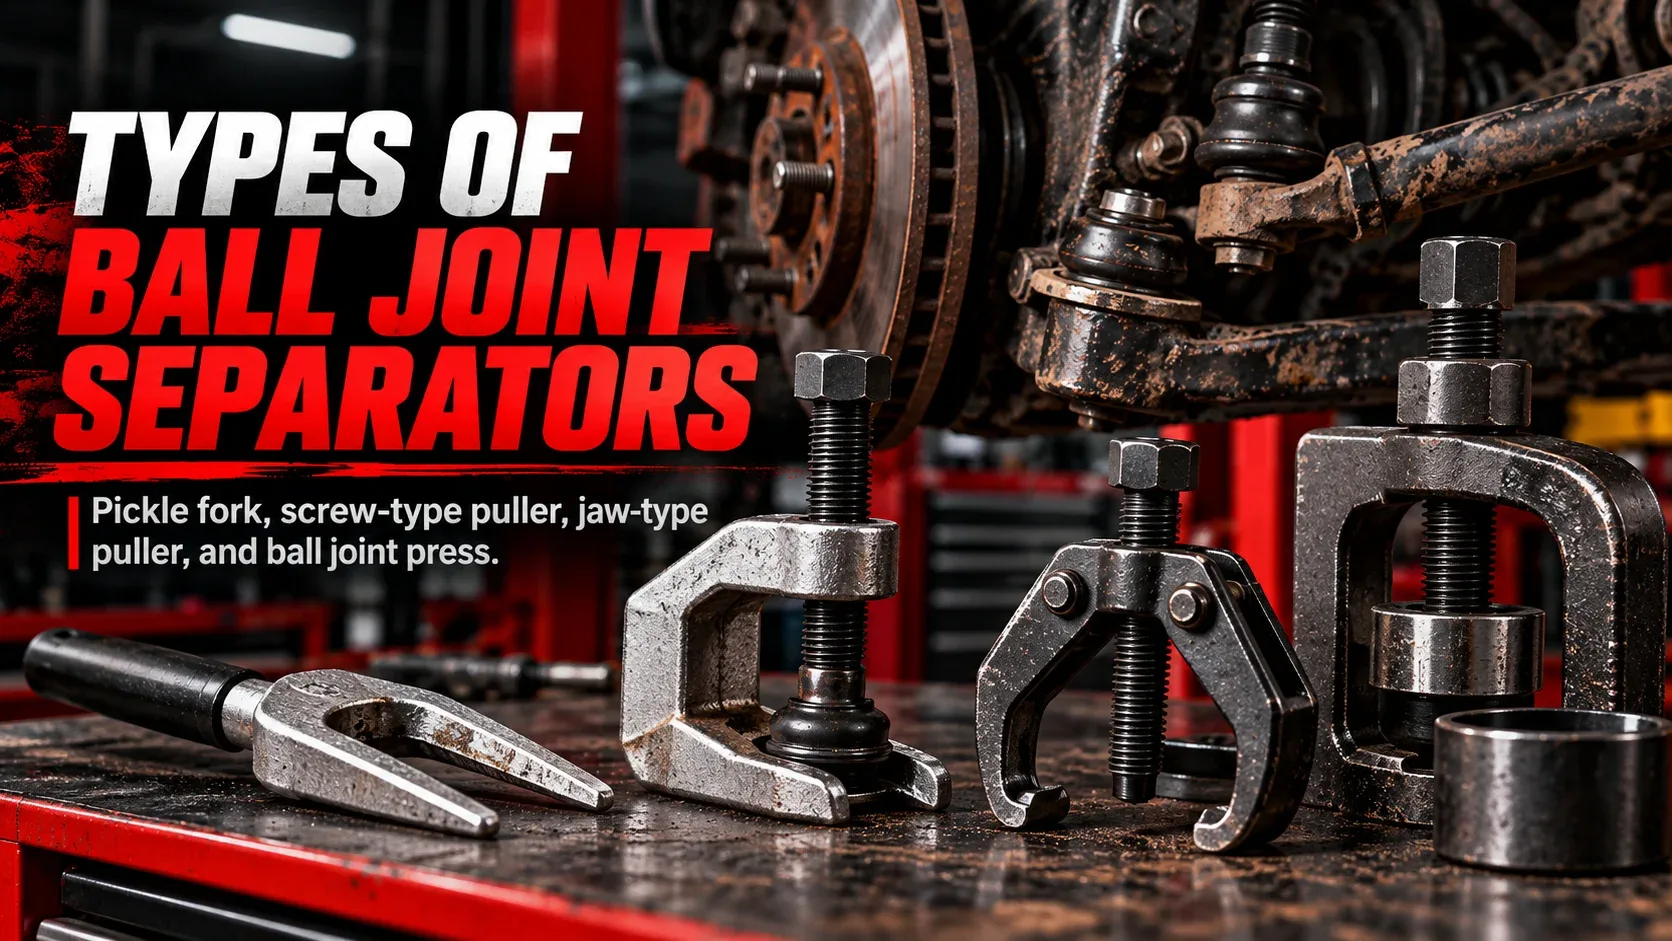
There is no single separator that fits every car, SUV, or pickup. Understand the common designs before choosing a tool.
Pickle Fork Separator
A forked wedge usually driven by hand hammer or a manufacturer-approved powered handle. It is relatively simple and available in different fork widths. Because it pushes through the area near the dust boot, it is generally better suited to joints being replaced than boots that must remain intact.
Screw-Type Separator
A compact separator that applies force through a threaded screw. Depending on its shape and clearance, it may disconnect the taper while limiting contact with the boot. Correct jaw placement and tool ratings are essential.
Jaw-Type Puller
A puller may grip around a compatible part while its screw applies pressure against the stud. Only use one specifically approved for the geometry and force requirements of the joint. A generic puller can slip or damage components.
C-Frame Ball Joint Press
A ball joint press, often supplied with adapters, removes or installs certain press-fit ball joint housings. It is included here for comparison, but is not automatically an acceptable substitute for a taper separator.
Pickle Fork vs. Screw-Type Ball Joint Separator
For many DIY mechanics, this is the most important tool-selection decision. The correct answer depends on whether the joint will be reused, the available space, and the vehicle service instructions.
| Feature | Pickle fork | Screw-type separator |
|---|---|---|
| How it works | Driven wedge separates connected parts | Threaded screw applies controlled pressure |
| Dust boot | Often damaged during separation | May be preserved if tool fits correctly |
| Clearance needs | Needs space for fork placement and striking | Needs suitable jaw fit and turning clearance |
| Typical reason to choose | Joint is being discarded, if approved | Controlled taper separation with compatible access |
| Main risk | Boot and surrounding component damage | Slipping, misalignment or excessive screw load |
How to Choose the Right Ball Joint Separator
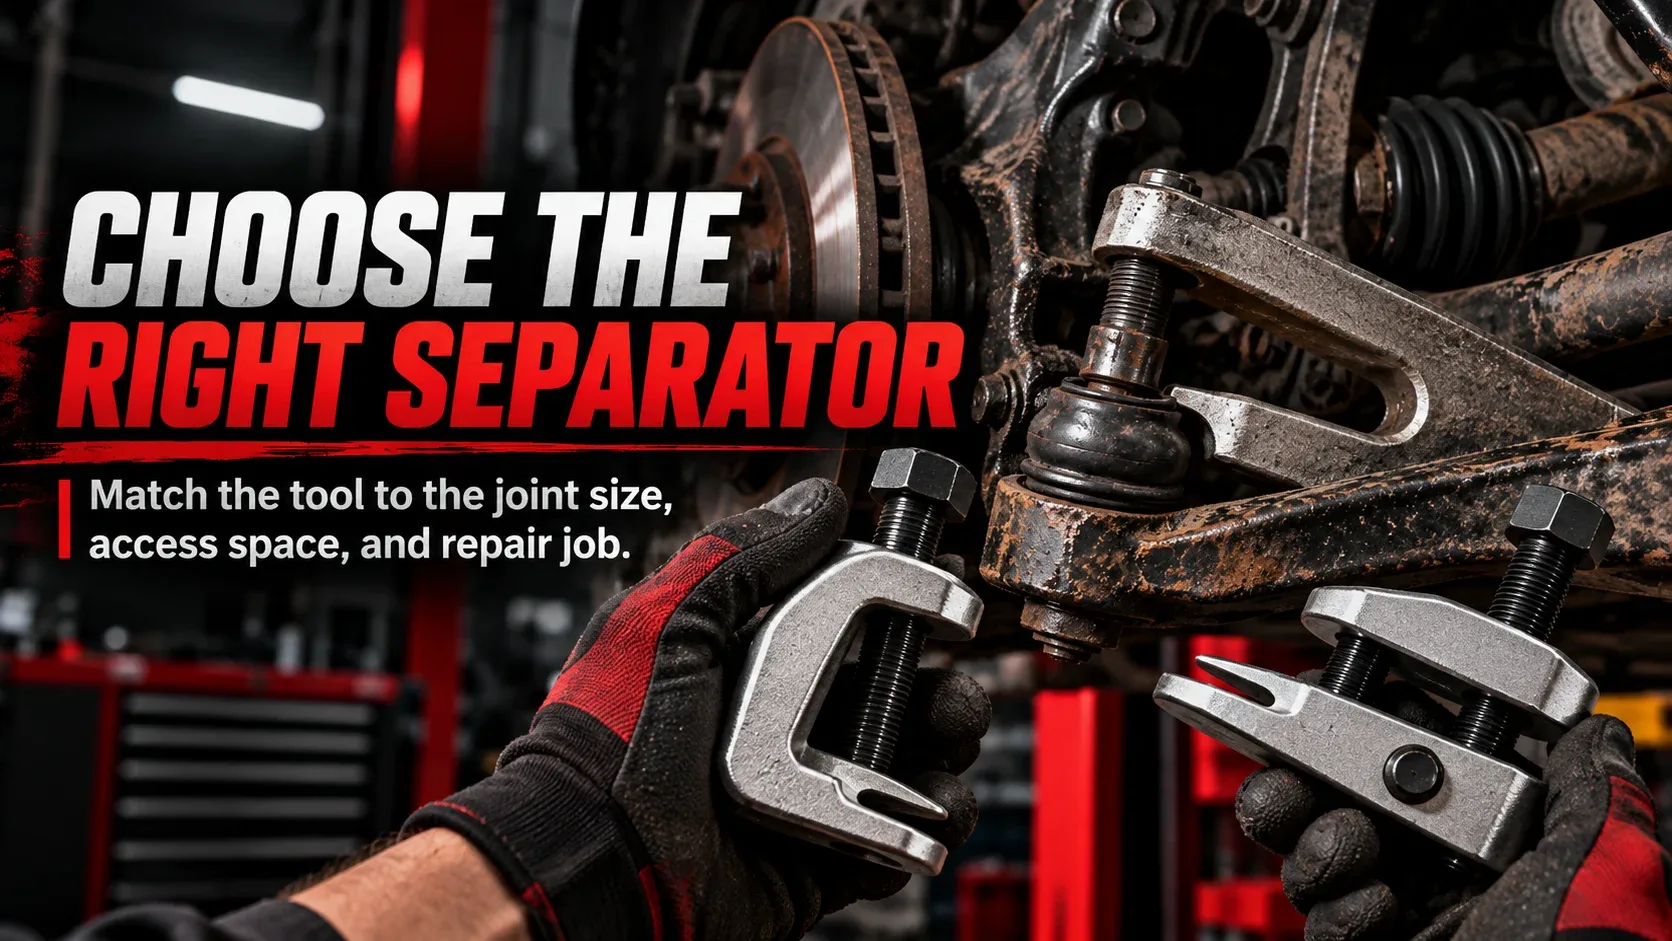
Do not choose a separator on price or the phrase “universal fit” alone. A tool that works on one front suspension may not fit another.
- Check the repair manual: Identify the exact joint and any recommended special tool.
- Measure available space: Ensure sufficient jaw opening, throat depth and room to operate the screw or handle.
- Examine the stud and knuckle: Confirm that the tool’s intended contact surfaces are accessible and sound.
- Decide whether the joint is reusable: Avoid destructive methods when the boot and joint must remain undamaged.
- Consider corrosion: Heavily rusted assemblies may require a different approved procedure or professional equipment.
- Read the tool instructions: Verify application, force limits and any restrictions before applying pressure.
For an occasional repair, borrowing or renting the specified separator may be more sensible than buying a poorly fitting generic kit. Before purchasing, match the tool to the actual vehicle and repair—not just the vehicle’s brand.
Tools and Safety Equipment You Need
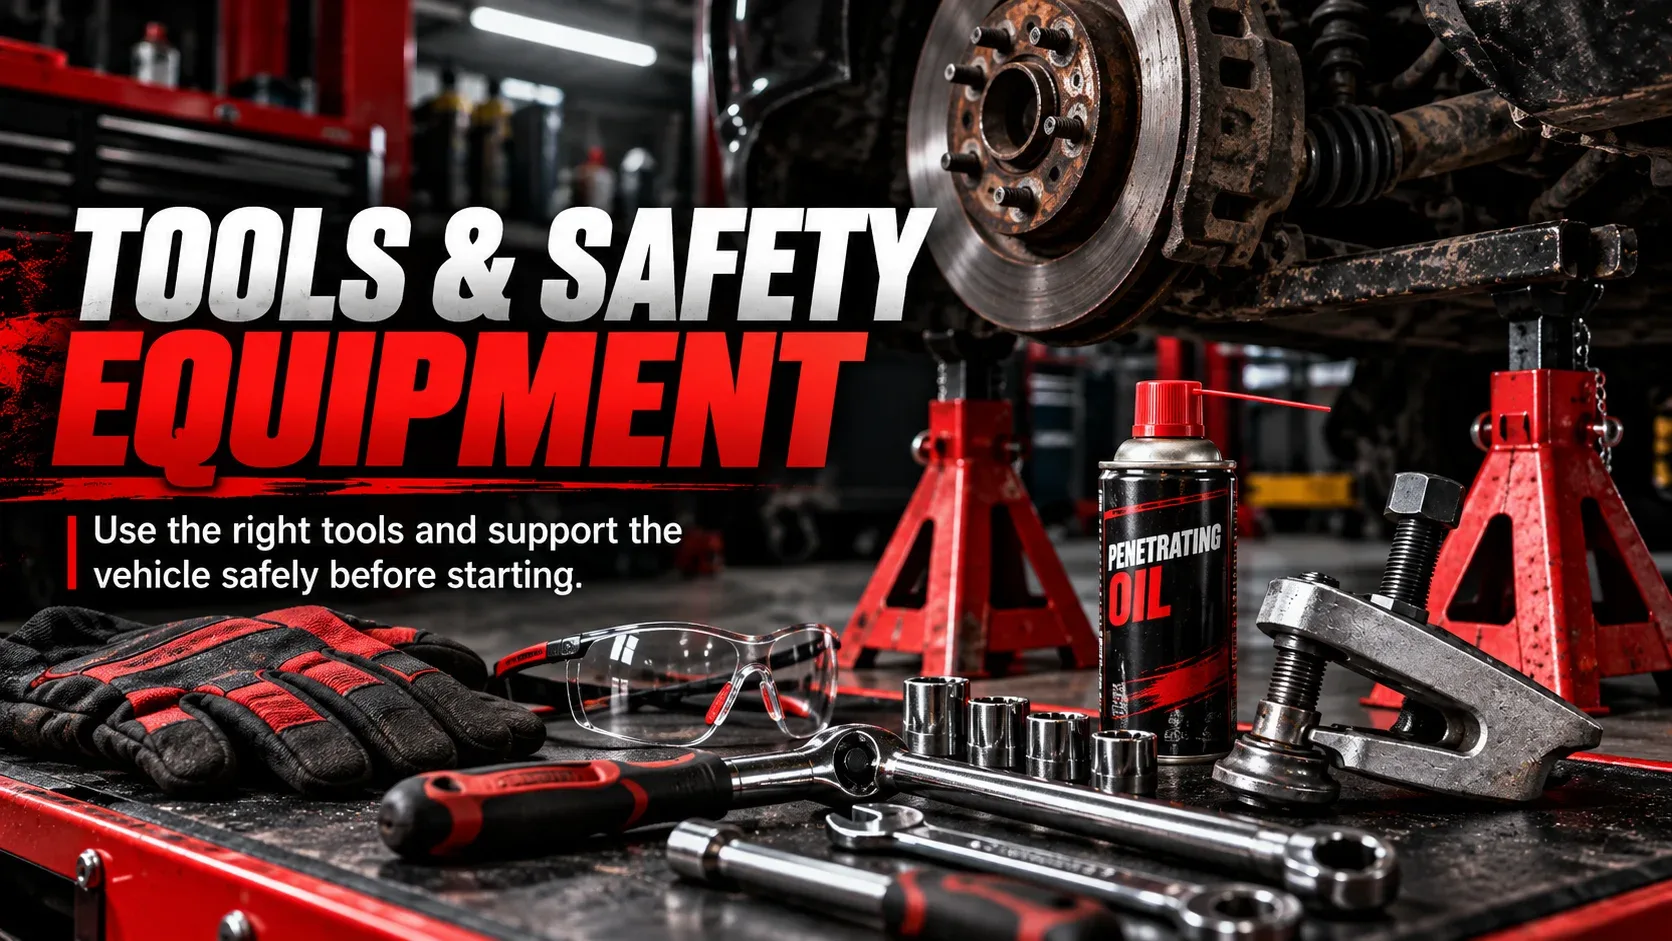
Required equipment varies with the repair. A typical setup may include:
- Vehicle-specific service instructions
- Correctly rated floor jack and jack stands or lift
- Wheel chocks and safety glasses
- Correct ball joint separator
- Specified wrenches and sockets
- Appropriate support for suspension components
- Torque wrench for prescribed reassembly
- Replacement one-time-use nuts, pins or hardware if specified
Inspect the joint and steering knuckle before beginning. A damaged, bent or loose stud and an enlarged or deformed tapered bore can indicate a structural problem that a new ball joint alone will not fix.
How to Use a Ball Joint Separator: Step-by-Step
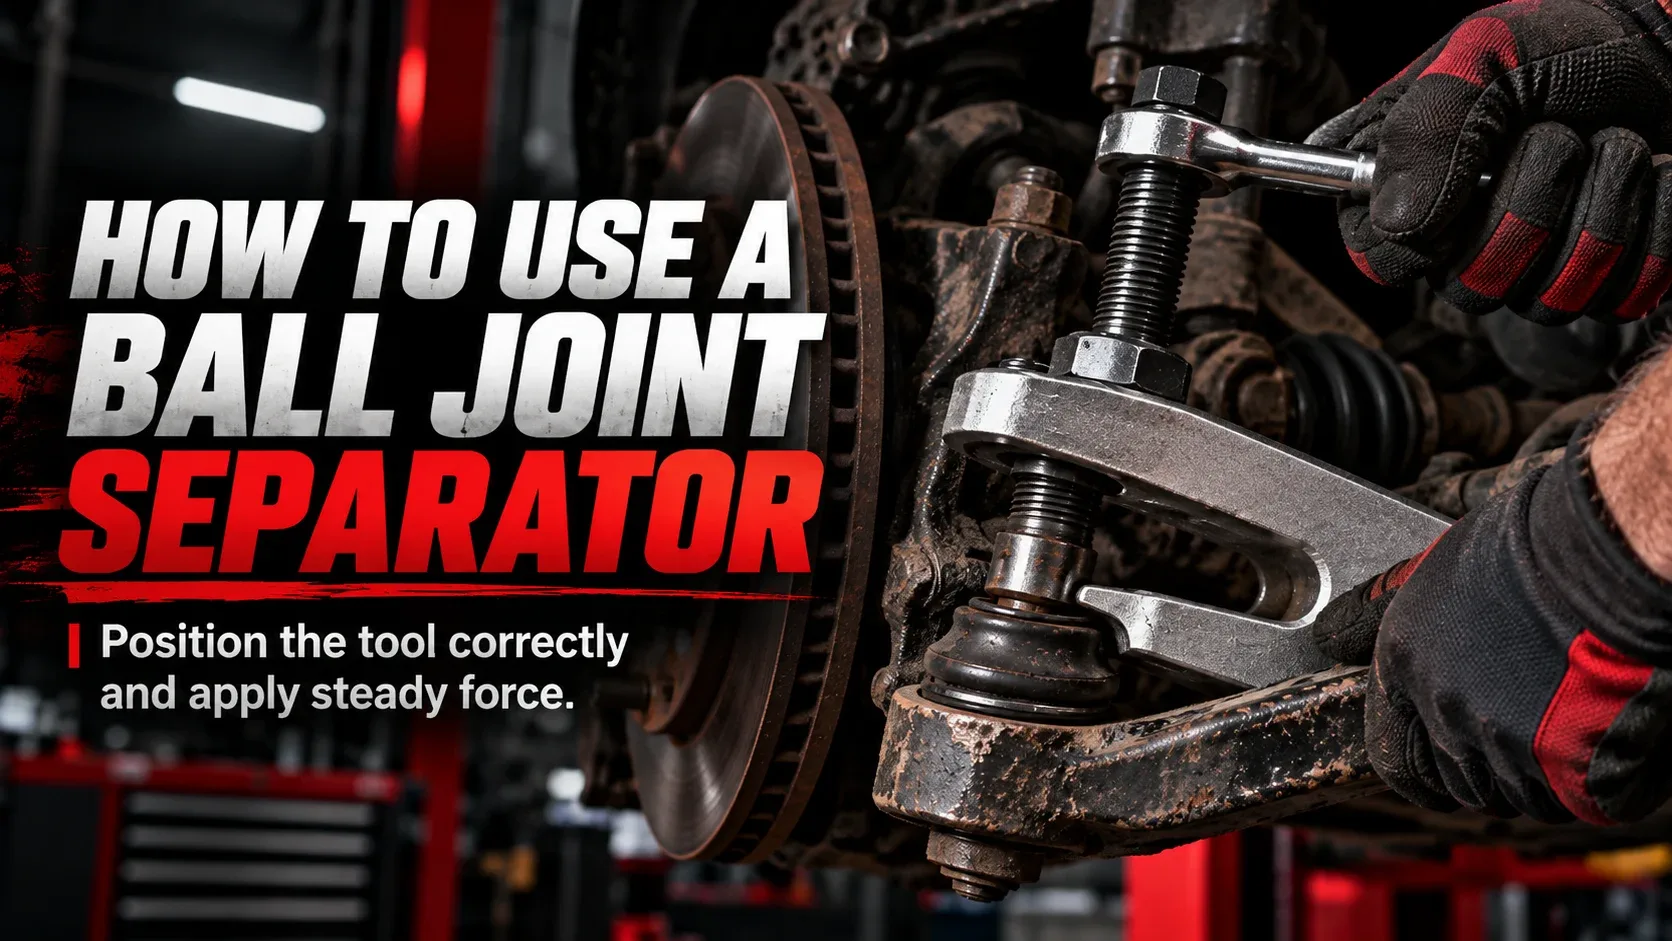
The following is a general overview, not a universal service procedure. The correct sequence, location of supports, fastener treatment, and installation requirements vary considerably by vehicle.
Confirm the joint and service procedure
Identify whether you are separating an upper ball joint, lower ball joint or another tapered linkage. Read the service instructions for your exact year, make, model and suspension design. Confirm which components may be disconnected and which must remain supported.
Secure and support the vehicle
Park on a suitable level surface, secure against movement, and follow the vehicle’s lifting instructions. Use approved support equipment at specified points. Support spring-loaded suspension members exactly as required by the manual.
Expose and inspect the connection
Remove only the components specified to gain safe access. Identify the stud, retaining nut, dust boot and steering knuckle. Inspect for severe rust, cracks, damaged threads, deformed mounting areas and nearby brake or sensor lines.
Prepare retaining hardware as specified
Follow the service manual’s instructions for cotter pins, locking nuts and other fasteners. Some procedures keep the nut loosely engaged during initial release to control movement; others specify a different sequence. Do not improvise or fully release a loaded assembly.
Seat the correct separator
Fit the jaws or fork only on the tool manufacturer’s intended contact surfaces. A screw-type separator should be squarely positioned, with its forcing tip correctly aligned. Do not bear against fragile cast edges, a dust boot, brake lines or unrelated hardware.
Apply force carefully
Operate the separator only in the manner specified by its manufacturer. Increase force gradually where applicable; stop if the tool tilts, slips, visibly flexes or fails to seat correctly. Do not add extensions, strike a screw-type tool, or use heat unless an approved procedure specifically calls for it.
Control separation and inspect
Once the tapered connection releases, prevent connected parts from dropping or loading attached hoses and wiring. Check the stud, knuckle taper, boot and surrounding components. Follow the vehicle’s instructions for removal, replacement, reassembly, new hardware, torque and any required alignment inspection.
Ball Joint Separator Not Working? Troubleshooting Common Problems
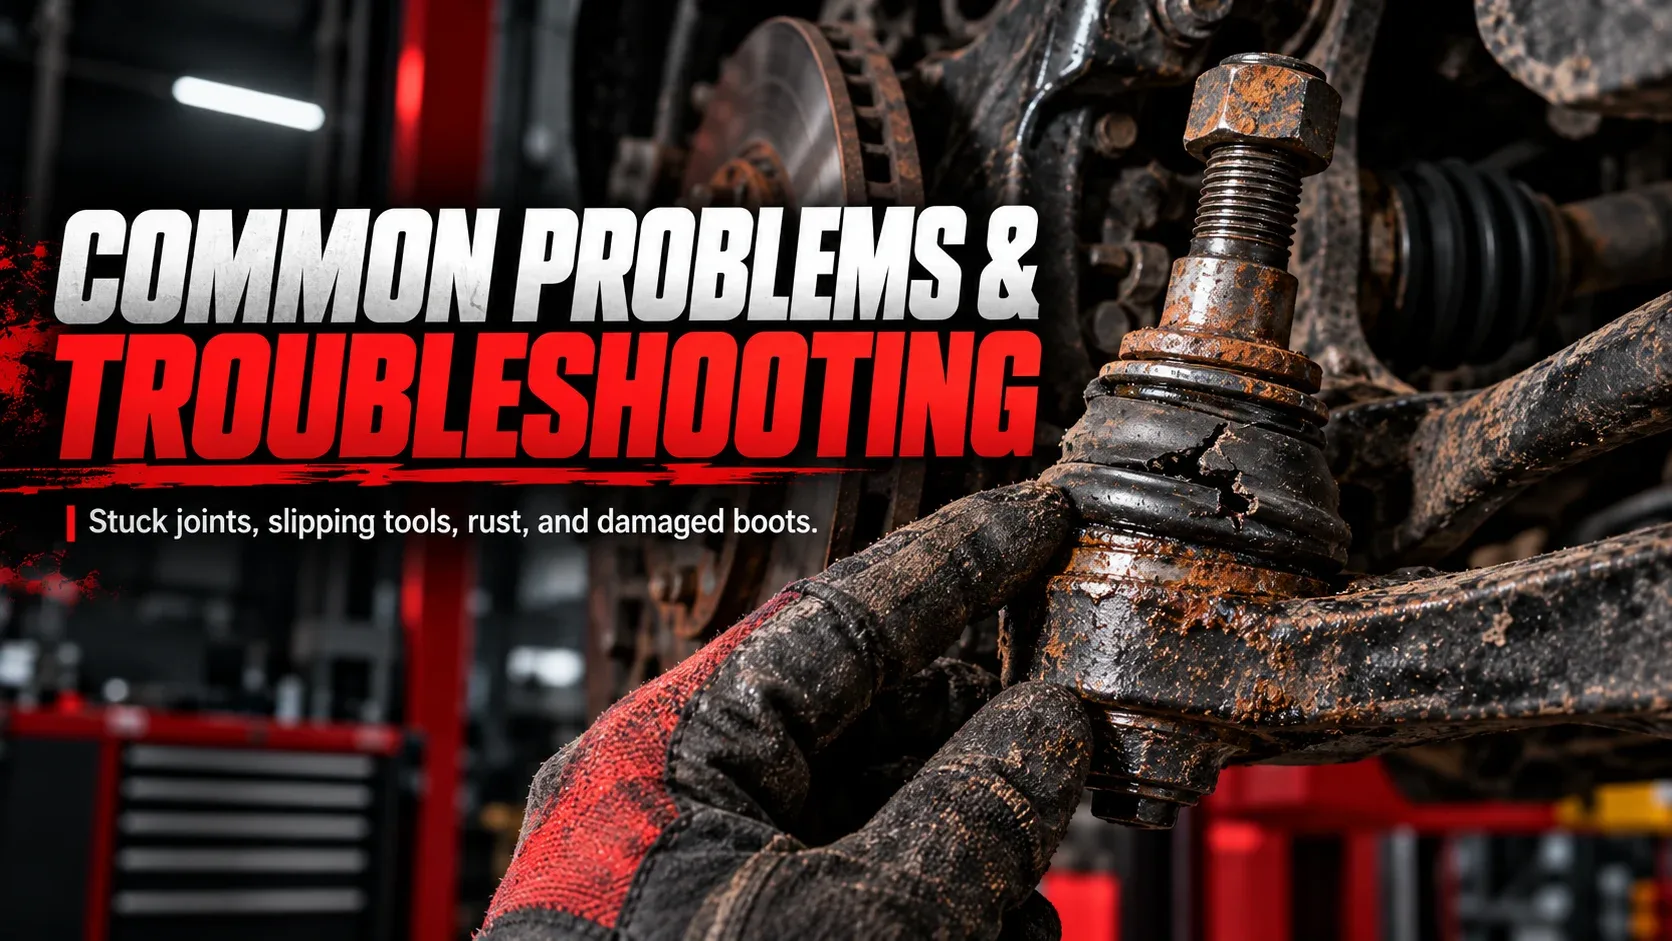
If a properly selected tool does not release the connection, forcing harder is not automatically the answer. Reassess the setup before damage occurs.
| Symptom | Possible cause | Safer next action |
|---|---|---|
| Stud stays seated | Corrosion or an exceptionally tight taper | Stop and consult the manufacturer’s approved methods; consider professional removal |
| Separator slips | Incorrect size, poor alignment or unsuitable contact surface | Release load, inspect parts and verify tool compatibility |
| Tool will not fit | Insufficient clearance or wrong jaw dimensions | Find the specified low-profile or vehicle-specific tool |
| Dust boot is torn | Fork contact or improper separator placement | Inspect for contamination and follow replacement requirements |
| Stud turns with nut | Joint rotation or damaged connection | Use the service-manual-approved holding or removal procedure |
| Tool or component bends | Misalignment, overload or structural damage | Stop immediately; inspect and seek qualified assistance |
Do not strike the steering knuckle or apply uncontrolled heat simply because an online shortcut appears easier. Some component manufacturers explicitly prohibit hammer strikes during specified separation procedures. Follow the instructions for your exact repair.
Ball Joint Separator vs. Ball Joint Press: What’s the Difference?
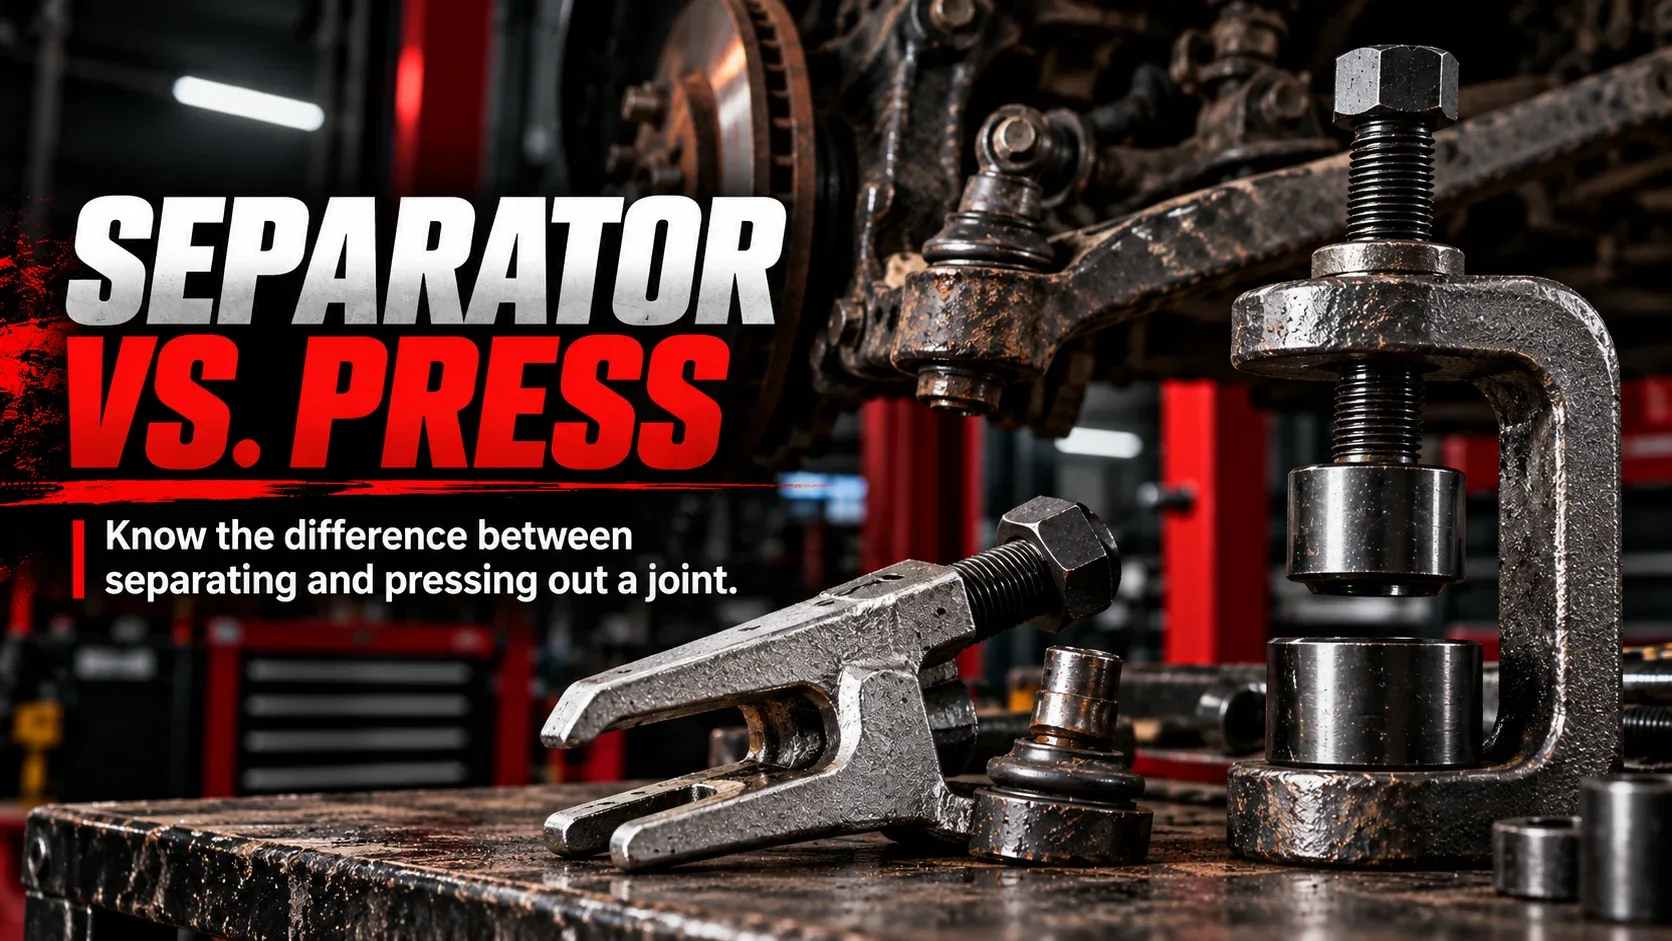
| Tool | Main job | Where it acts |
|---|---|---|
| Ball joint separator | Releases a seated tapered connection | Between the stud and its mating suspension or steering component |
| Ball joint press | Removes or installs some press-fit ball joint housings | Against a supported housing or control arm using approved adapters |
A repair can require both tools: first the tapered stud may be disconnected, then a press-fit housing removed. Other vehicles use bolt-on joints or require replacing a complete control arm, so a ball joint press may not be needed at all. Never assume every ball joint is press-fit.
Common Ball Joint Separator Mistakes to Avoid
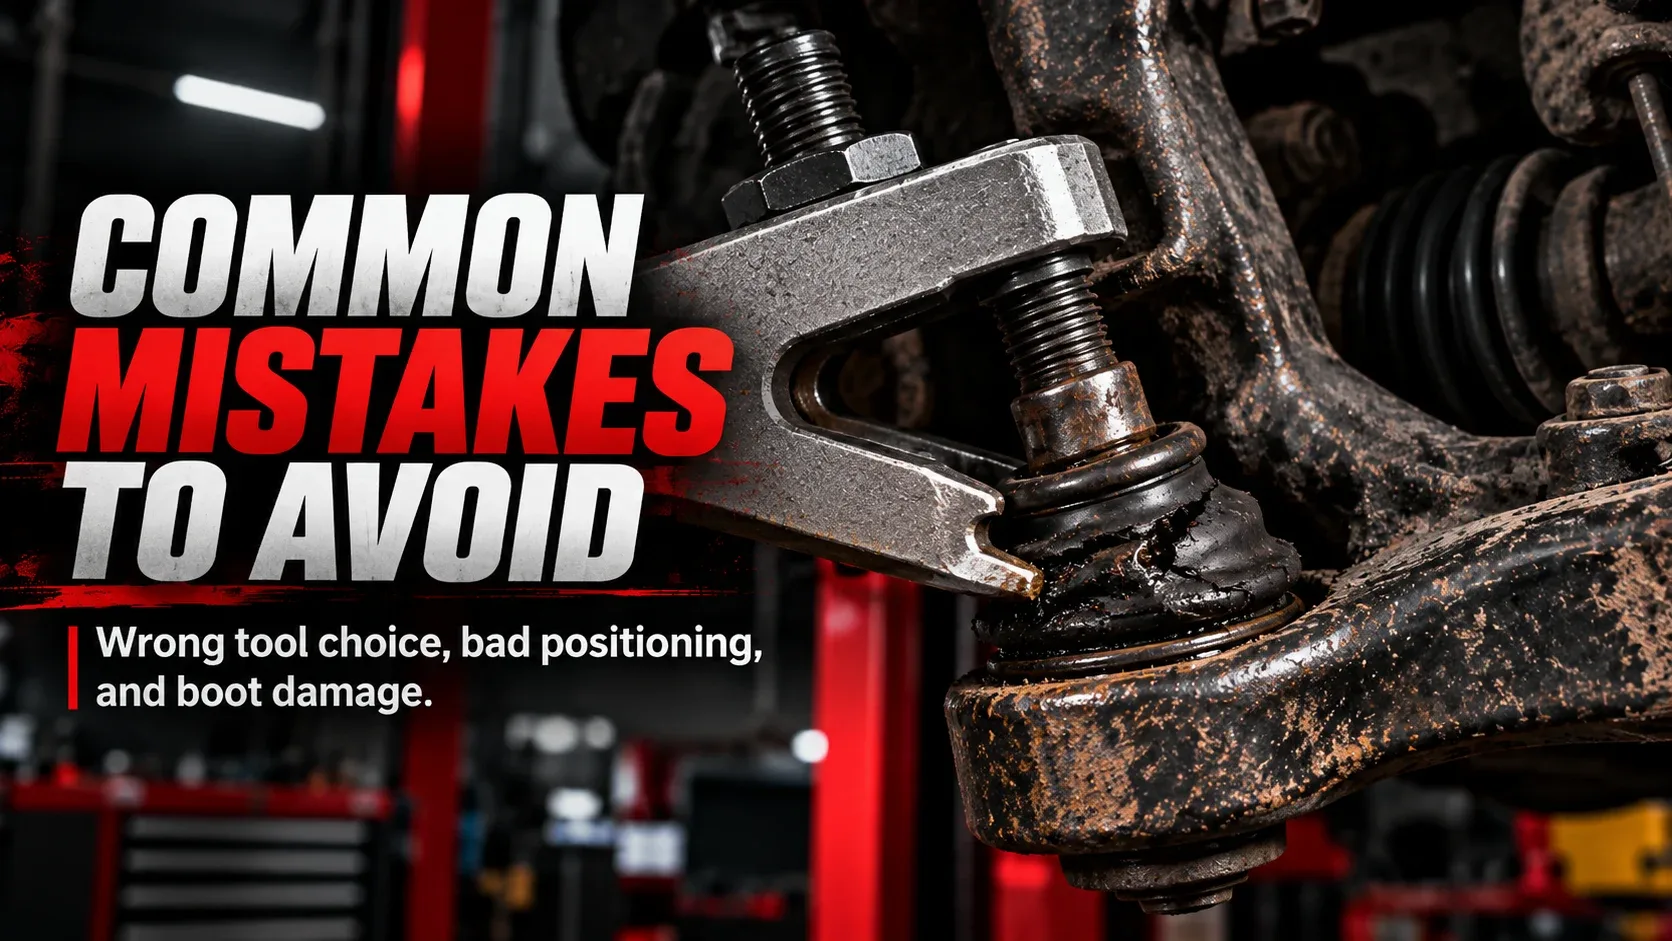
1. Using the wrong size
An undersized or poorly matched tool can slip or load the wrong surface. Verify dimensions and the approved tool before beginning.
2. Forgetting spring load
Disconnecting a loaded component without the specified support can allow violent movement. Identify and control stored energy first.
3. Damaging a reusable boot
A pickle fork can tear a boot even if the metal joint survives. Use an approved less-invasive method if reuse is intended.
4. Forcing a misaligned tool
Excessive force on a tilted separator may damage threads or components. Stop, release pressure and correct the setup.
5. Ignoring taper damage
A deformed knuckle bore cannot be made safe merely by installing a new joint. Follow the manufacturer’s inspection criteria.
6. Reusing restricted hardware
Some fasteners and locking devices are single-use. Install the specified replacements and torque them as directed.
When Should You Replace a Ball Joint?
Separating a joint does not automatically mean it must be replaced. Its condition, the vehicle manufacturer’s inspection limits, and whether the dust boot survived all matter. However, a joint with confirmed excessive play, binding, a damaged stud, serious contamination or a boot that cannot be properly serviced may require replacement.
Do not rely on an informal shake test alone. Some suspension designs must be unloaded or checked in a prescribed way to measure ball joint play accurately. If the steering knuckle’s tapered bore is elongated, cracked or otherwise damaged, follow the manufacturer’s replacement criteria for that component as well.
Frequently Asked Questions About Ball Joint Separators
What is a ball joint separator used for?
It is used to separate a tapered ball joint stud from the steering knuckle or another connected suspension component. It does not generally remove the complete press-fit ball joint housing from a control arm.
Can a ball joint separator work without damaging the boot?
Some correctly sized screw-type separators can release the taper while avoiding the dust boot. This depends on access, tool geometry and careful placement. A pickle fork commonly damages the boot.
Is a pickle fork better than a screw-type separator?
Neither is universally better. A pickle fork may suit a joint that will be replaced when approved for the vehicle. A screw-type separator may be preferable where the joint and boot must be preserved and the tool fits safely.
Can I remove a ball joint without a separator tool?
Some manufacturers prescribe different specialized procedures, but improvised methods can damage components or release loaded parts unexpectedly. Follow your vehicle’s documented procedure rather than assuming hammering or prying is safe.
What is the difference between a ball joint separator and a ball joint press?
A separator disconnects the tapered stud connection. A ball joint press is designed to remove or install certain press-fit ball joint housings, usually using a C-frame and fitted adapters.
Why is my ball joint stuck?
The mating tapers can grip tightly, particularly after years of service and corrosion. Incorrect tool alignment or an unsuitable separator can also prevent release. Stop and reassess rather than simply increasing force.
Will one separator fit every vehicle?
No. Jaw opening, throat depth, stud size, surrounding clearance and manufacturer restrictions vary. Confirm the specific application before purchasing or using a tool.
Should I replace a ball joint after separating it?
Not necessarily. Replacement depends on wear, damage, boot condition and the service manual. Some procedures or tool methods make reuse inappropriate. Inspect carefully and follow manufacturer requirements.
Final Thoughts
A good ball joint separator makes a difficult suspension job more manageable—but correct fit and safe technique matter more than raw force. Choose the separator for the vehicle and task, account for suspension spring loads, inspect the joint and knuckle, and follow the specified installation procedure. If the connection or support arrangement is uncertain, a qualified mechanic is the safest next step.