

Validated by ASE-Certified Mechanics > The 2026 pricing and safety guidelines below are based on strict industry standards established by the Automotive Service Excellence (ASE) and the Rubber Manufacturers Association. While this guide will protect you from predatory pricing, it should not replace a physical, internal tire inspection by a qualified local technician.
You’ve got a flat tire. The shop quotes you $45. Your gut says something feels off.
This guide exists because you deserve to know exactly what you’re paying for—and whether that price is fair. We’ve broken down tire repair costs by region, shown you the complete professional workflow, and included real-world case studies so you can confidently spot a rip-off.
Quick Answer
In most markets, you should expect to pay between $20–$50 USD (or regional equivalent) for a standard tire patch repair. If you’re quoted significantly more without a detailed breakdown, it’s worth asking questions.
How Much Should You Pay in Various Regions?
Tire repair costs swing wildly depending on where you are. Labor rates, shop overheads, and local market conditions all play a role. Here’s what you should expect:
🇺🇸 United States & Canada
$20–$50 for standard vehicles
Premium shops or high-end tire types may push to $50–$75+. Most roadside repair shops cluster in the $25–$40 range.
🇬🇧 United Kingdom & Europe
£15–£60 depending on location and shop
London tends toward the higher end; smaller towns often run cheaper. Tire size and labor rates cause the variation.
🇦🇺 Australia & New Zealand
$30–$70 AUD/NZD
Remoteness and fuel surcharges push prices slightly higher than US equivalents. Major cities may be slightly cheaper.
South Asia
$5–$25 USD equivalent
Local repair shops charge much less, but quality and safety standards vary widely. Always ask about the patch method and warranty.

Pro tip: Always get local quotes. Even within the same city, prices can vary by 50% or more depending on the shop’s reputation, location, and overhead.
What a Professional Patch Repair Actually Entails
Here’s the thing: a tire patch costs pennies. The labor—that’s where the money goes. Understanding the professional workflow helps you see why.
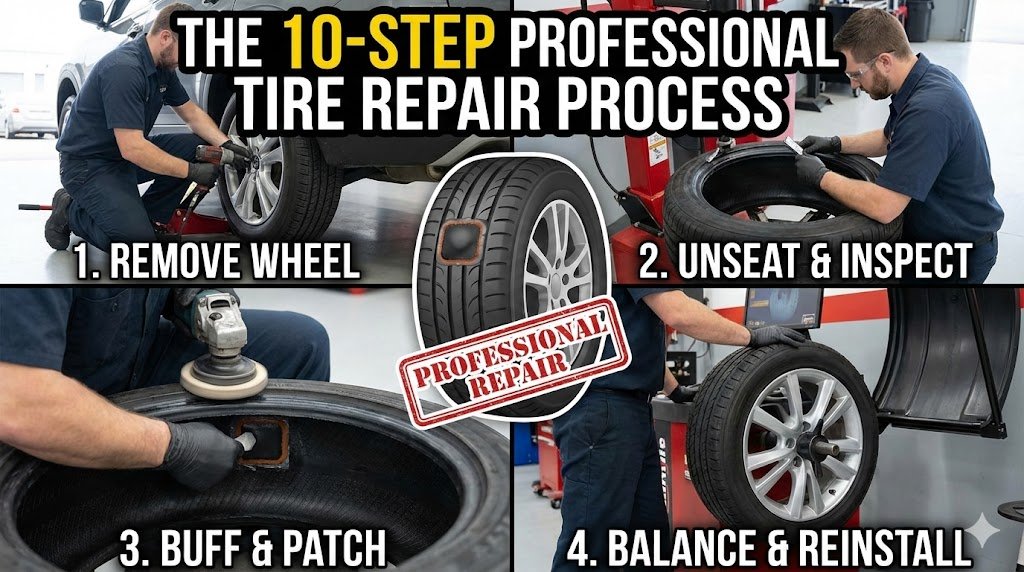
Below are the 10 steps a professional technician performs for a proper repair:
- Remove wheel from vehicle — Safely jack the car and remove lug nuts
- Unseat the tire bead — Break the seal between the tire and rim using a bead breaker
- Inspect interior for damage — Locate the puncture and check for hidden tears or bead damage
- Buff and clean interior surface — Sand the area to prepare it for proper patch adhesion
- Insert patch (or patch + plug combination) — Apply the internal patch or combination repair method
- Apply adhesive and bonding — Use vulcanizing cement to ensure an airtight seal
- Re-seat bead and remount tire — Place the tire back onto the rim correctly
- Inflate and check for leaks — Fill the tire and perform a soapy water leak test
- Balance the wheel — Static or dynamic balancing ensures smooth handling
- Reinstall to vehicle — Torque lug nuts to spec and lower the car safely
Why This Matters
Even a “quick” patch involves 10+ labor steps. That’s why labor dominates the cost—not because shops are greedy, but because skilled work takes time. A technician might spend 15–30 minutes on your tire depending on complexity.
Real-World Case Studies
These examples help you self-diagnose what tier your repair falls into:
Case A: Simple Nail Puncture
Scenario: Nail in center tread, compact car, US suburb
Work done: Standard patch, remount, balance
Cost: $25
This is a textbook tire repair. The nail is in the treaded area (safe to repair), damage is minimal, and the car is standard. This price is fair and typical.
Case B: Bead Damage on SUV with Premium Tire
Scenario: High-performance SUV, bead damage near rim
Work done: Rim cleaning, re-sealing, rebalance
Cost: $80–$120
Bead damage requires extra care—the technician has to clean the rim, apply sealant, and re-seat the tire carefully. Premium tires also cost more in labor (larger or specialty compounds). This price is higher but justified.
Case C: Puncture Near Shoulder on Worn Tire
Scenario: Puncture near shoulder, tire tread nearly gone
Work done: Shop recommends replacement instead
Cost: $150+ (new tire)
Punctures near the shoulder (sidewall area) are not repairable—they create stress points that will fail under load. The shop rejects the repair and recommends replacement. This is not rip-off, it’s safety.
Rip-Off Red Flags: When to Walk Away
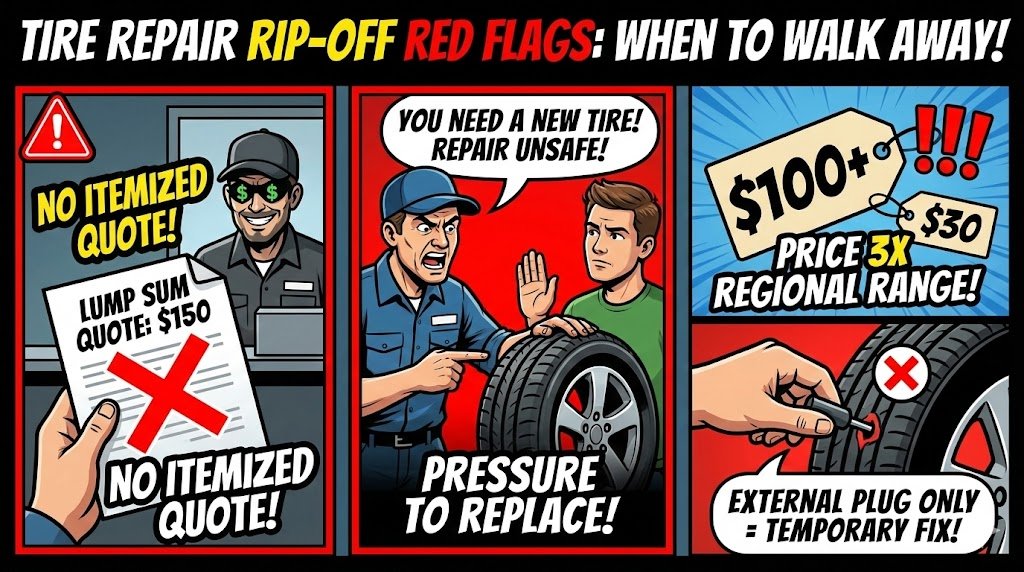
Not all high prices are justified. Watch for these warning signs:
- No itemized quote. Legitimate shops break down labor, materials, and fees separately. If they quote you a lump sum and won’t explain it, that’s a red flag.
- Pressure to replace instead of repair. A shop pushing a new tire without showing you the damage or explaining why repair isn’t safe is prioritizing profit over your wallet.
- Price 3x the regional range. If you’re in the US and quoted $100+ for a standard patch, something’s off. Compare with another shop.
- External plug only. Plugs are temporary. Any shop offering only an external plug without an internal patch is giving you a band-aid, not a real fix.
- No warranty or guarantee. Good shops stand behind their work. No mention of a guarantee? Ask about it.
Questions to Ask Your Technician
- “Can I see the puncture location before you start?”
- “Are you using an internal patch or just an external plug?”
- “Does this price include wheel balancing?”
- “Can I get an itemized receipt with labor and materials listed?”
- “What’s your warranty on this repair?”
The Bottom Line
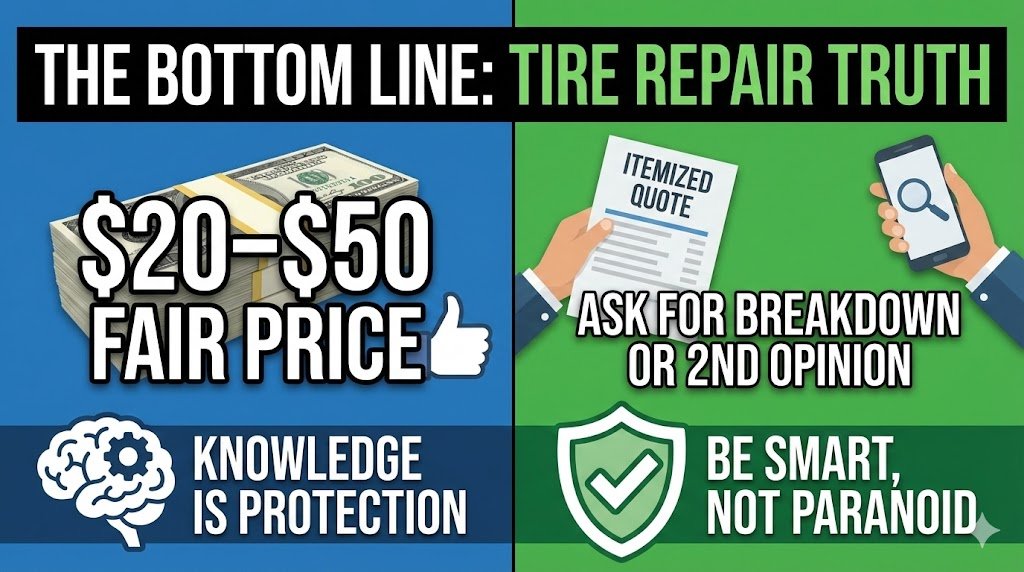
Tire repair shouldn’t be mysterious or scary. A fair price is $20–$50 in most developed markets (or your regional equivalent). The labor is real—technicians are skilled professionals—but the work should be transparent.
If you’re quoted more, ask for an itemized breakdown and a clear explanation of why. If the shop can’t explain it, get a second opinion. You’re not being paranoid; you’re being smart.
Knowledge is your best protection. Now you have it.