
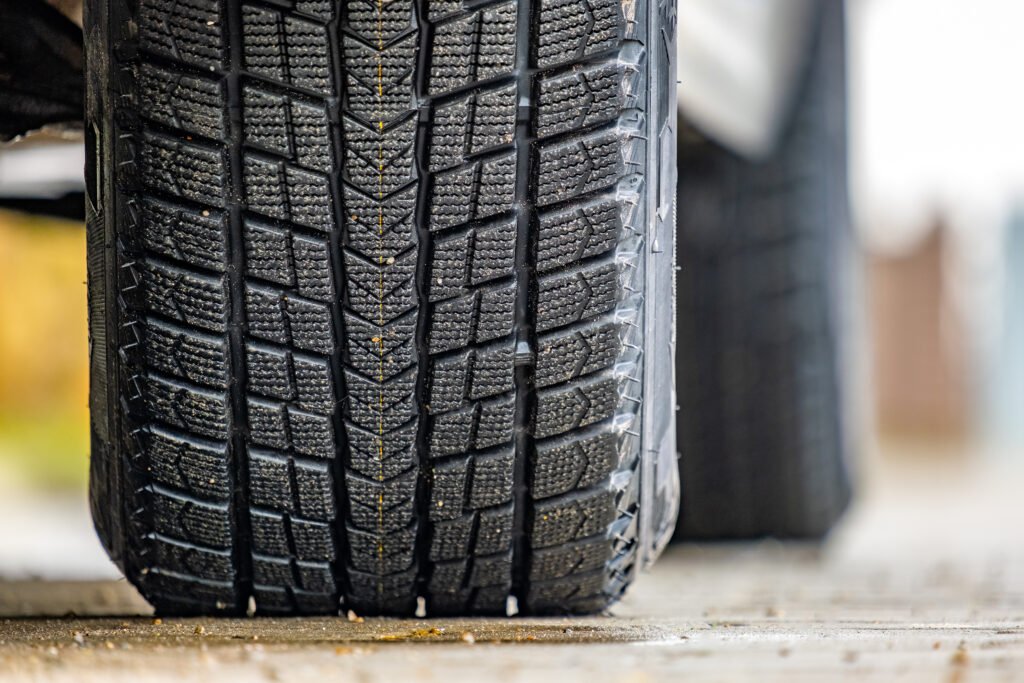
1. What Is Patching vs. Plugging vs. Replacing a Tire
- Plugging – inserting a rubber “plug” from the outside to fill a small hole, usually in the tread. Faster, sometimes used as temporary fix.
- Patching – removing the tire from the rim, patching from the inside, more permanent. Often considered safer, required if puncture is larger or deeper.
- Full Replacement – when damage is too great (size, location, multiple punctures, sidewall damage, bead damage, etc.), replacing the whole tire.
Note: Inflation and labor rates have changed. Read our updated guide on the [tire repair cost in 2026] to see what certified techs are charging today.
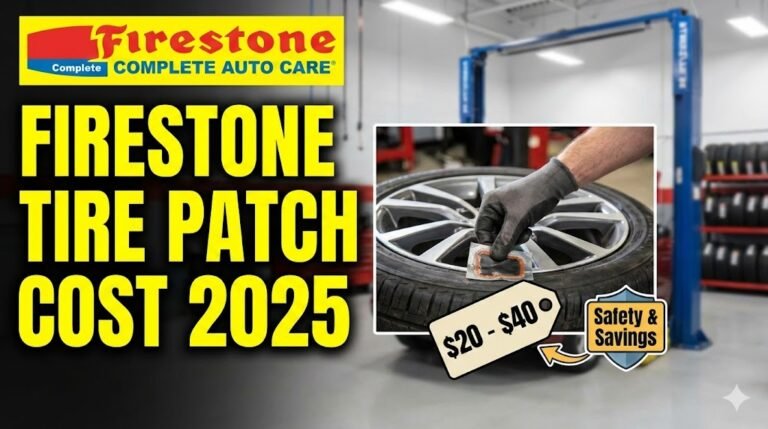
2. Typical Cost Ranges around the World
| Scenario | Professional Shop | DIY / Kit (when possible) |
|---|---|---|
| Small tread puncture (~<¼ inch / ~6mm) | US $20-$50 | US $5-$20 for patch kit |
| Larger hole or near tread shoulder | US $40-$70 | Kit plus labor (if self doing, may need more gear) |
| Valve stem replacement | US $15-$30 (shop) | US $3-$15 parts if DIY |
| Bead leak or rim sealing | US $50-$150 | Harder DIY; usually professional needed |
| Full tire replacement | Varies widely: US $60 to $200+ depending on tire brand, size, labour | – |
.
3. What Impacts the Price: Key Cost Factors
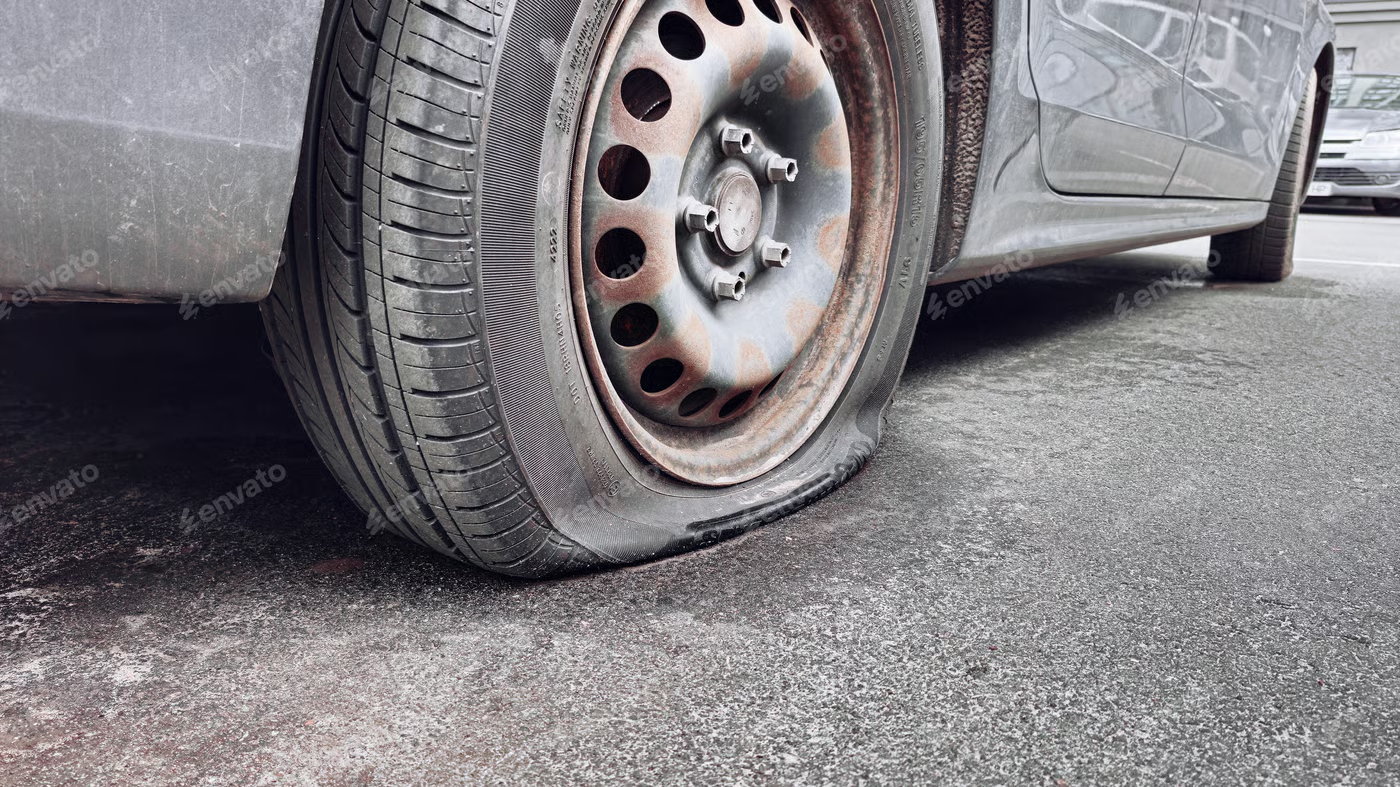
The price to plug a tire isn’t a flat number—it shifts depending on several key factors. The location of the puncture is one of the biggest variables: small holes in the tread are quick and inexpensive to fix, while damage near the sidewall or shoulder is often considered unsafe, meaning shops may refuse repair or push for a full replacement.
4. Step-by-Step What a Pro Does When Patching Your Tire
- Inspection: remove any foreign object; assess hole diameter, location; check for sidewall damage and internal structure.
- Disassembly: remove tire from rim if needed; ensure inside surface is clean.
- Buffing / prepping: roughen the inner surface around the hole, clean & dry.
- Apply patch (inside) + sometimes plug + adhesive; ensure proper sealing.
- Reinstall & balance: remount on rim, inflate to spec, balance wheel.
- Testing: check for leaks, monitor pressure over next few days.
These steps justify the labour cost. If some are skipped (e.g. patch from outside only, no balancing), quality and longevity suffer.
5. DIY vs Professional: Pros, Cons & Cost Comparison
| Aspect | DIY | Professional |
|---|---|---|
| Cost | Much lower upfront; materials $5-$20 typically for basic kits. | Labour + parts; $20-$60 or more depending on job. |
| Tools required | Must have jack, patch kit, buffing tools, adhesive, proper knowledge. | All tools included, expertise, safety standard. |
| Safety / Quality | Risk of improper seal, plug moving, missing internal damage. | Higher guarantee, safer work. |
| Time invested | More time; risk of mistakes. | Faster, more reliable. |
| When DIY is OK | Minor tread puncture; you have tools & experience. | Always better for unseen or complex damage. |
6. When & Why You Should Replace, Not Patch
- Hole is larger than ~¼ inch (6-7 mm) in passenger tire tread.
- Puncture in sidewall or very close to shoulder or bead.
- Multiple punctures close together.
- When tread is very shallow or tire is old (age >6-10 years or per manufacturer).
- When structural damage (cords, belts) is compromised.
- Safety regulations may require replacement.
7. How to Get a Fair Deal: Questions to Ask + Common Overcharges
- Ask if price includes balancing, valve stem, bead sealing, etc.
- Get written estimate before services.
- Check if patch is done from inside and not just plug or external patch.
- Ask about warranty / guarantee of patch job.
- Be wary of “hidden fees” like emergency fee, disposal, TPMS reset.
- Compare multiple shops if possible.
- Use online reviews, ask for photos of previous repair jobs.
8. Extended Lifespan: Aftercare & Monitoring Patched Tires
- Check tire pressure regularly (weekly or biweekly).
- Inspect patched area for air leaks, bulges, cracking.
- Avoid overloading vehicle, excessive speed, frequent driving on rough roads.
- Rotate tyres per schedule.
- If patch fails or you notice vibration or pulling, get re-inspection immediately